Cooking meat is a lot like training. There’s no single method that does everything well, and the people who get the best results aren’t the ones with the fanciest gear, they’re the ones who know which tool to grab for which job. A ribeye doesn’t want the same setup as a pork shoulder. Your weeknight chicken thighs aren’t asking for a 12-hour brisket commitment. Pick the wrong method and even a great cut can feel like a missed lift.
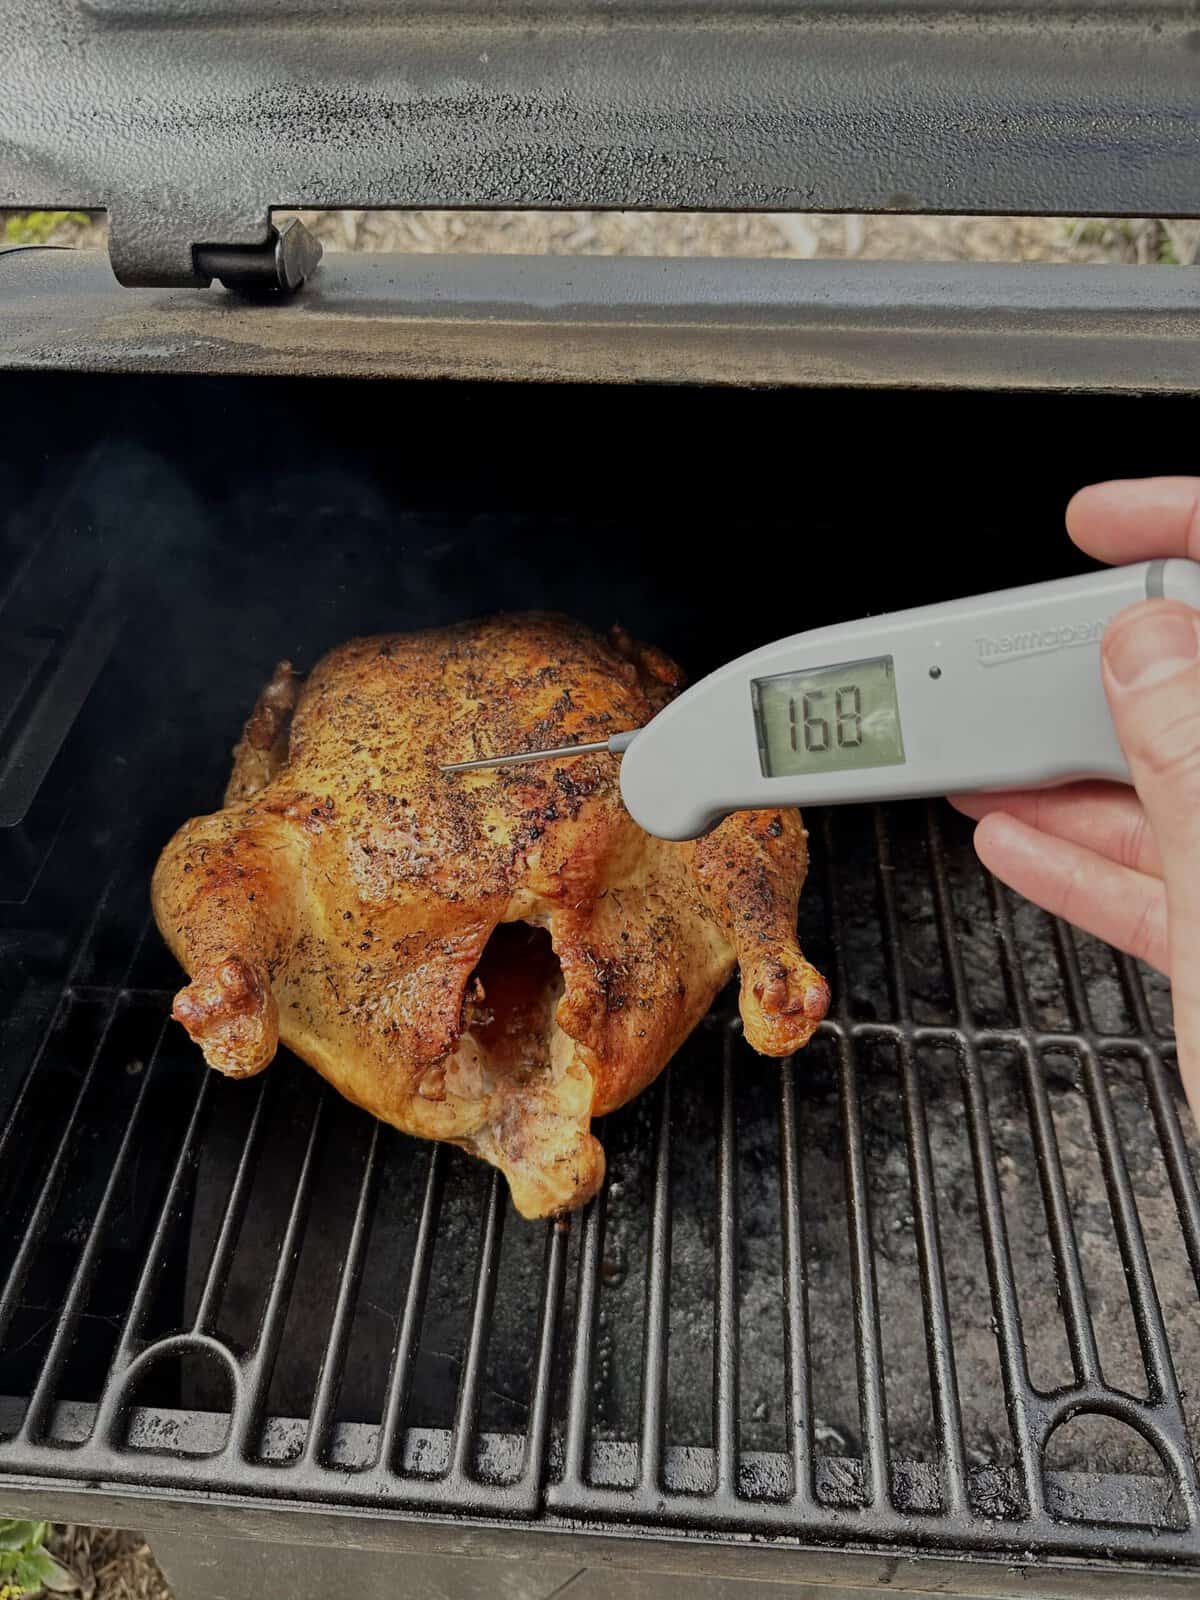
There’s also one piece of equipment that beats every other purchase on this list, and it’s not the fancy one. A $15 instant-read thermometer will improve your cooking more than a $1,500 grill. Buy that first. Then come back here and figure out which method matches the meat in your fridge.
Here’s how the eight most common cooking methods actually behave, including the parts nobody warns you about.
Contents
- The Quick Comparison
- 1) The Oven (Roasting and Baking)
- 2) Pan-Searing on the Stovetop
- 3) The Grill (Direct-Heat BBQ)
- 4) The Smoker
- 5) The Slow Cooker (Crock-Pot)
- 6) The Pressure Cooker (Instant Pot)
- 7) Sous Vide
- 8) The Air Fryer
- Bonus: Two Hybrid Techniques Worth Knowing
- Internal Temperature Cheat Sheet
- How to Pick the Right Method
The Quick Comparison
If you want the cheat sheet before the deep dive, here’s how the eight methods stack up:
| Method | Best For | Temp Range | Typical Time | Hands-On Level | Crust Potential |
|---|---|---|---|---|---|
| Oven (Roast) | Whole birds, roasts, sheet pans | 375–450°F | 30 min – 3 hr | Low | Moderate |
| Pan-Sear | Steaks, chops, cutlets, burgers | 450–700°F surface | 5–15 min | High | Excellent |
| Grill | Burgers, steaks, chops, kebabs | 400–700°F | 5–30 min | Medium-High | Excellent |
| Smoker | Brisket, ribs, pork shoulder | 200–275°F | 4–16 hr | Low (after setup) | Bark |
| Slow Cooker | Tough cuts, shredded meats | 190–210°F | 6–10 hr | Minimal | None |
| Pressure Cooker | Tough cuts, stew, broth | ~250°F internal | 30–90 min | Low | None |
| Sous Vide | Steaks, chicken breast, chops | 130–165°F | 1–4 hr + sear | Minimal | Needs post-sear |
| Air Fryer | Wings, small portions, reheats | 350–425°F | 10–25 min | Low | Good |
1) The Oven (Roasting and Baking)
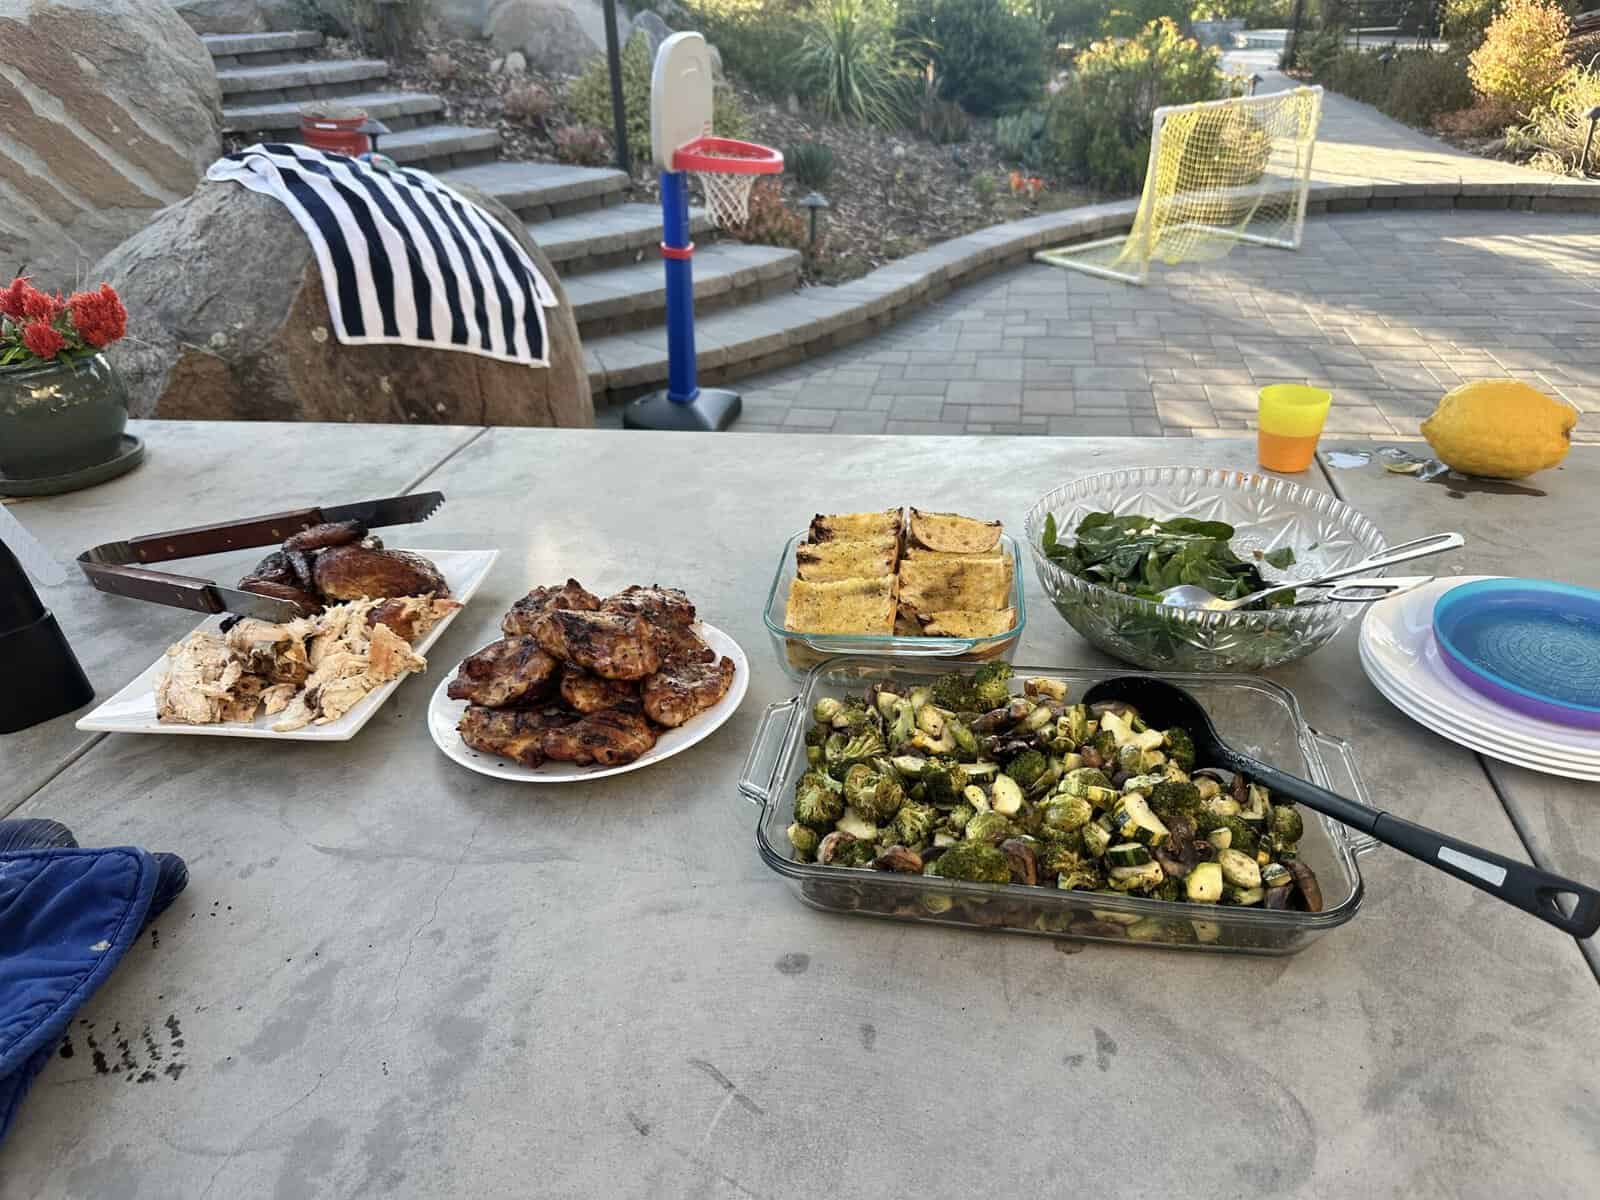
The oven is the dependable training partner. It holds its temperature, lets you walk away, and never gets dramatic. Dry, even heat from every direction gives you golden roasts, crisp sheet-pan dinners, and the kind of full-house spread you’d call “Sunday food.” It’s also the only method on this list that scales to feeding eight people without doing four batches.
The pitfall is moisture and color. Below 300°F, the Maillard reaction barely happens, which is why low-roasted chicken comes out pale and disappointing. Above 425°F, lean cuts like pork tenderloin or chicken breast dry out fast if you’re not watching. The fix most home cooks miss: roast hot (425°F or higher) for short windows, or sear in a skillet first and finish the roast in a 375°F oven. Either approach gets you crust AND interior, instead of one or the other.
Reach for the oven when you’re feeding a group, when you want hands-off cooking, or when the cut is big enough to need real time (whole chicken, pork loin, rack of ribs, prime rib). The pro move is putting the meat on a wire rack over a sheet pan so the underside crisps too, not steams in its own drippings.
2) Pan-Searing on the Stovetop
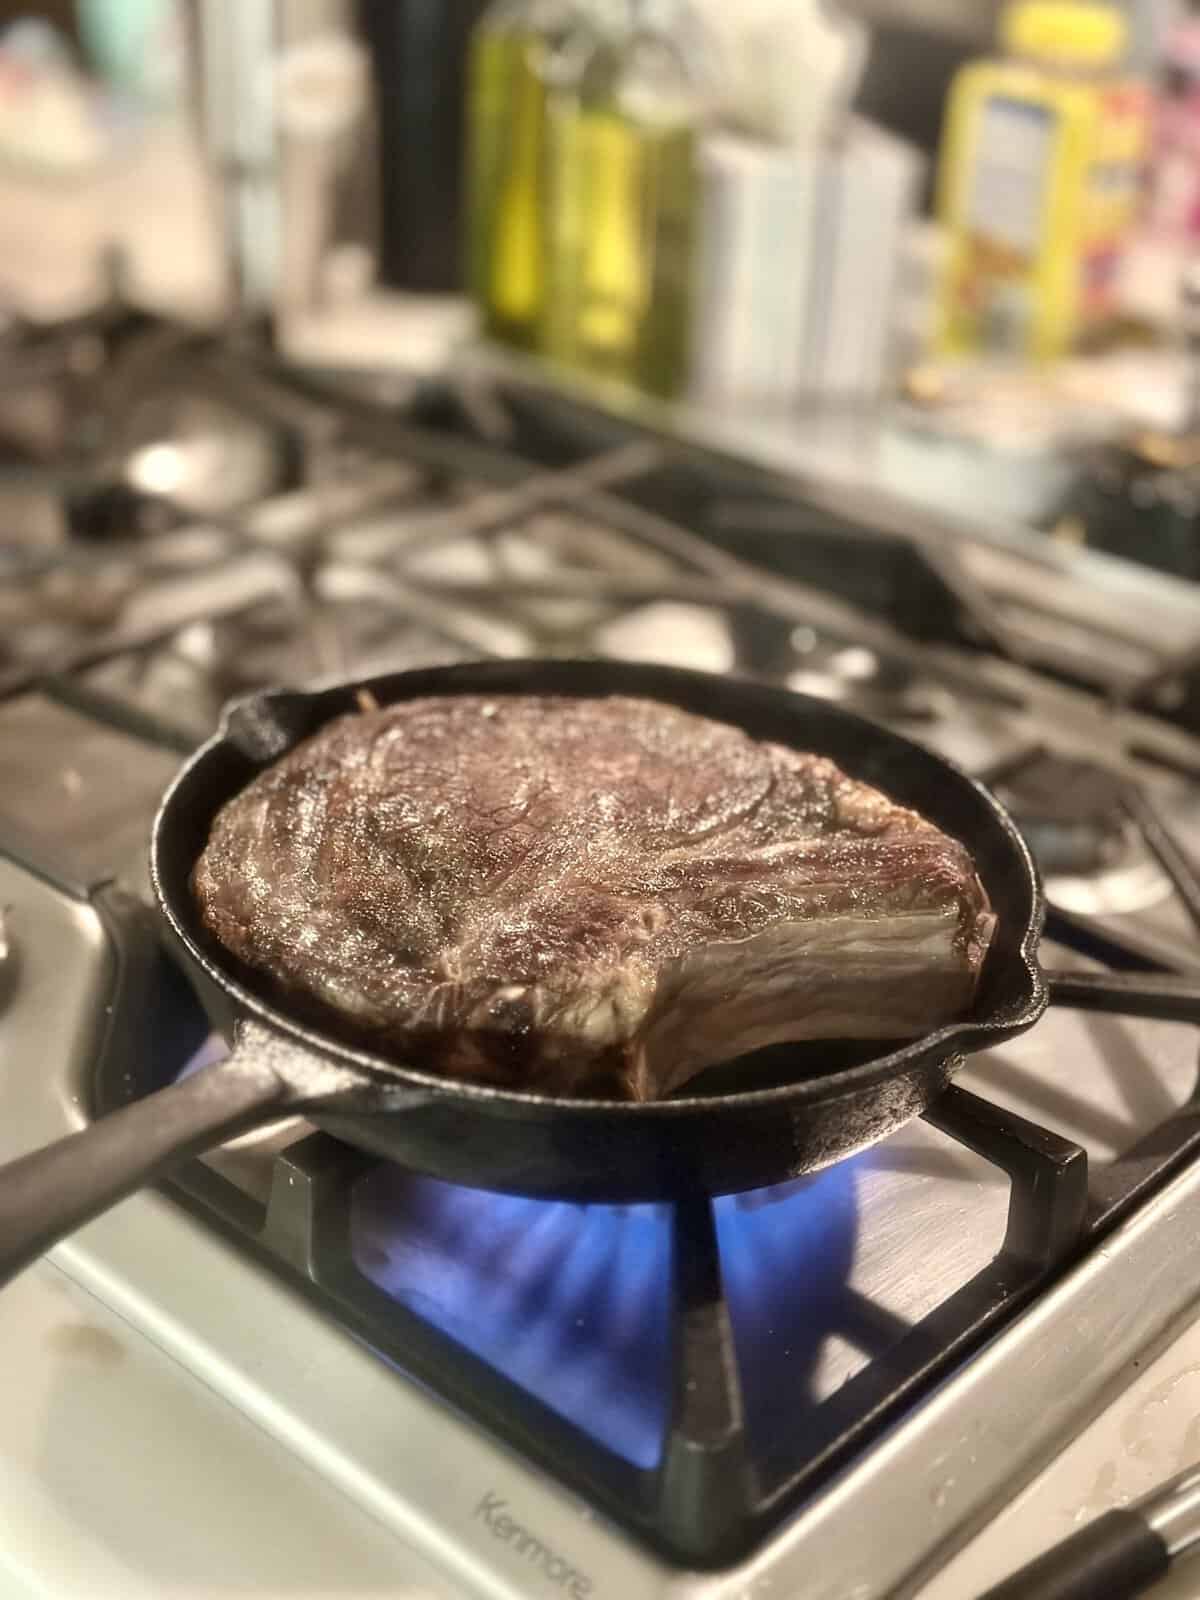
The skillet is your sprint workout. High heat, short window, full attention. Cast iron or stainless steel gets hot enough to trigger Maillard browning (280°F to 330°F at the surface), which is why a steakhouse ribeye looks the way it does and your nonstick attempt at home doesn’t. Nonstick pans cap out around 500°F before the coating breaks down. Cast iron will laugh at 700°F.
The pitfall is range and smoke. A skillet only handles cuts about an inch thick. Anything thicker burns the outside before the middle catches up. It also fills the kitchen with visible smoke unless your hood is doing real work, so open a window or accept the smoke detector serenade. And one more thing most people get wrong: don’t move the meat. Once it hits the pan, leave it alone for 3 to 4 minutes. Crust forms when the surface stays in contact, not when you’re fussing with tongs every 20 seconds.
Use the stovetop for steaks under 1.5 inches, chops, cutlets, burgers, boneless thighs, and anything where speed and crust matter more than volume. For thicker steaks, sear hard on both sides, then transfer to a 375°F oven to finish. That’s the classic steakhouse sequence, and it works every time.
3) The Grill (Direct-Heat BBQ)

The grill is where flavor gets loud. Live fire, fat dripping onto coals, and that smoky char you genuinely cannot replicate indoors. Charcoal can hit 700°F+ and gives you actual wood-fire flavor. Gas tops out around 550°F and trades flavor for convenience. Both can be great, but they’re not the same tool, and pretending they are will frustrate you.
The pitfall is heat control. Most home cooks blast everything on max heat with the lid open and wonder why the chicken is black on the outside and pink in the middle. The single best fix is a two-zone fire: coals or burners on full on one side, off on the other. You sear on the hot side, then move the meat to the cool side to finish gently with the lid down. This one move separates the people who grill well from the people who serve carbonized hockey pucks.
Grill when the weather cooperates, when you want maximum flavor in minimum time, and when the cut is 1.5 inches thick or less. For anything bigger (tri-tip, pork shoulder, whole chicken), use the indirect zone with the lid down and treat the grill like an outdoor oven. Don’t flip more than once if you want grill marks that look like grill marks.
4) The Smoker

The smoker is your long endurance day. Set it once, manage it loosely, and let the clock do the work. Smoking lives between 200°F and 275°F and is built for the cuts no other method handles well: brisket, pork shoulder, ribs, beef cheeks, whole chickens, anything with serious connective tissue. The magic is chemical. Collagen, the stuff that makes a brisket tough, starts breaking down at 160°F and converts to gelatin around 180°F to 200°F. That gelatin is why properly smoked meat is juicy without being greasy.
The pitfalls are time, patience, and one specific demon called the stall. Around 160°F internal, the meat plateaus for 2 to 4 hours because moisture evaporating off the surface cancels out the heat going in. New smokers panic, crank the heat, and ruin the bark. The pros wrap the meat in butcher paper or foil (the “Texas crutch”) and punch through the stall in an hour. The other pitfall is wood selection: hickory and mesquite are aggressive, fruit woods (apple, cherry, pecan) are forgiving. Start light. You can always add more smoke. You can’t remove it.
Smoke when you have a full day, when you’re feeding a crowd, and when the cut needs hours to break down. Skip the smoker for anything lean. Chicken breast and pork tenderloin cook too fast to absorb real smoke flavor and turn into expensive, hammy disappointments.
5) The Slow Cooker (Crock-Pot)
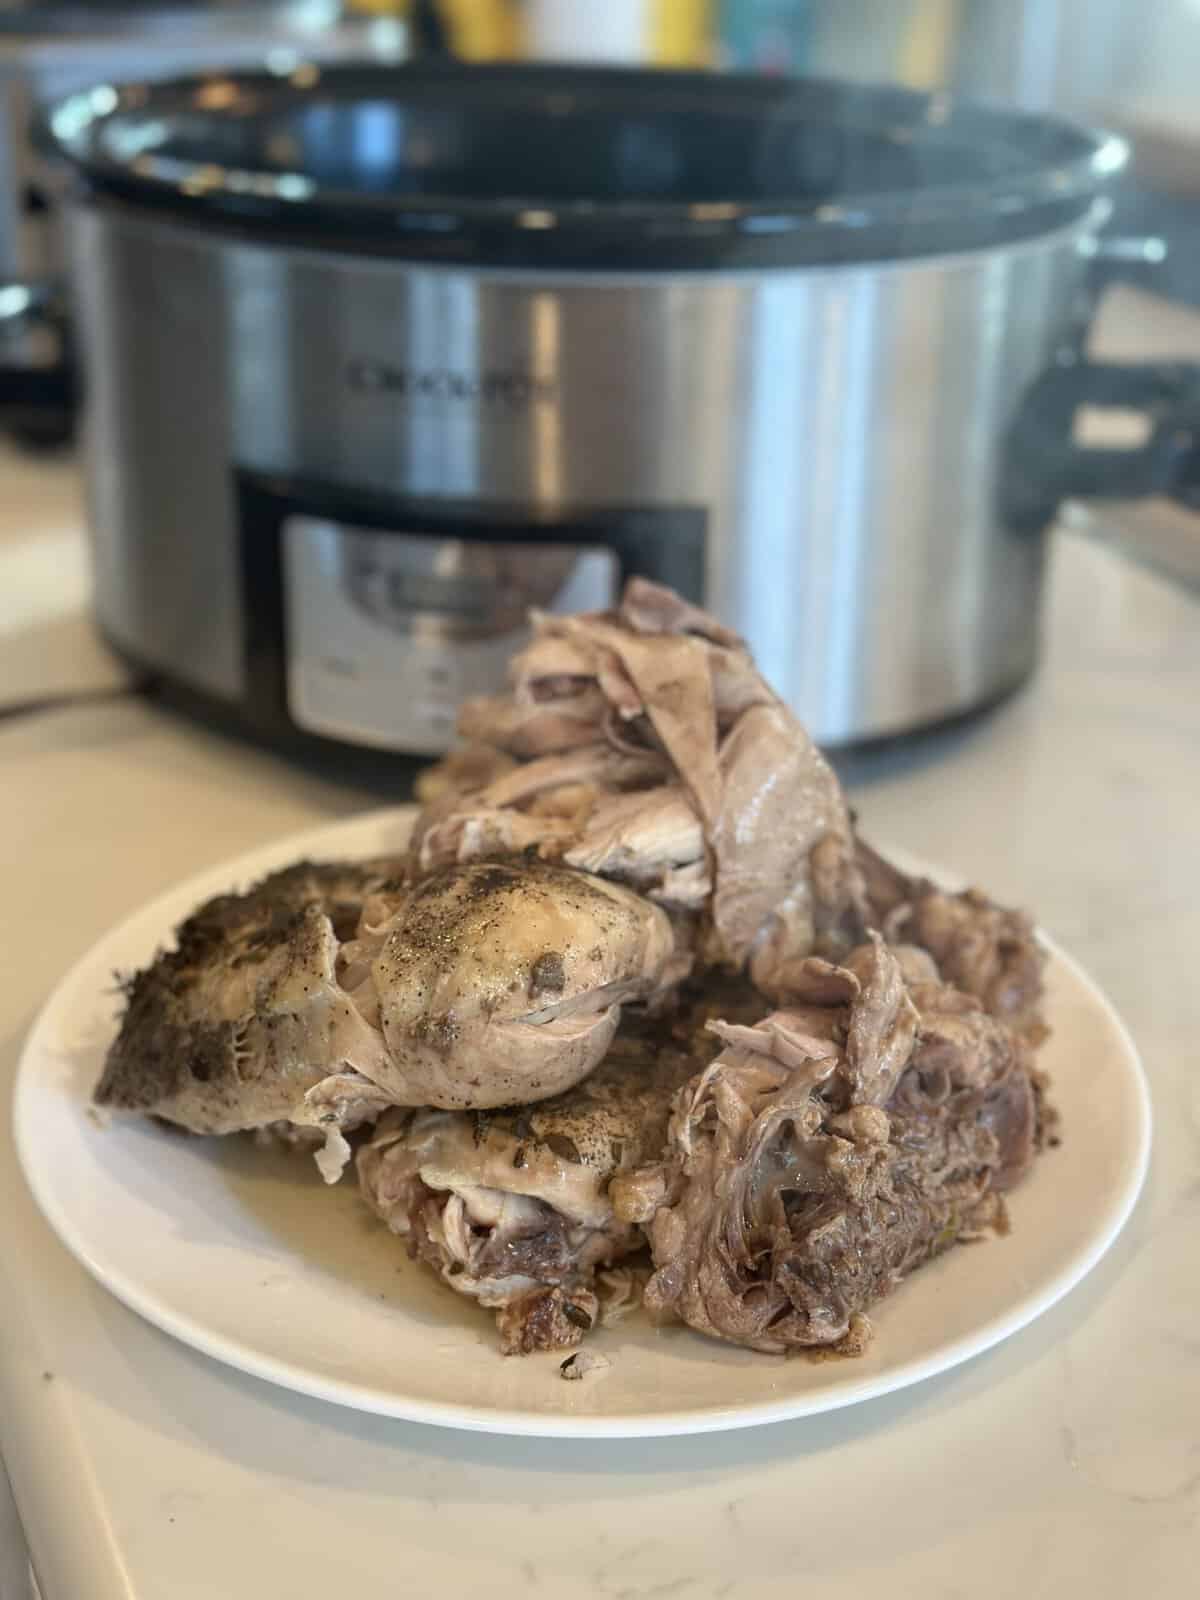
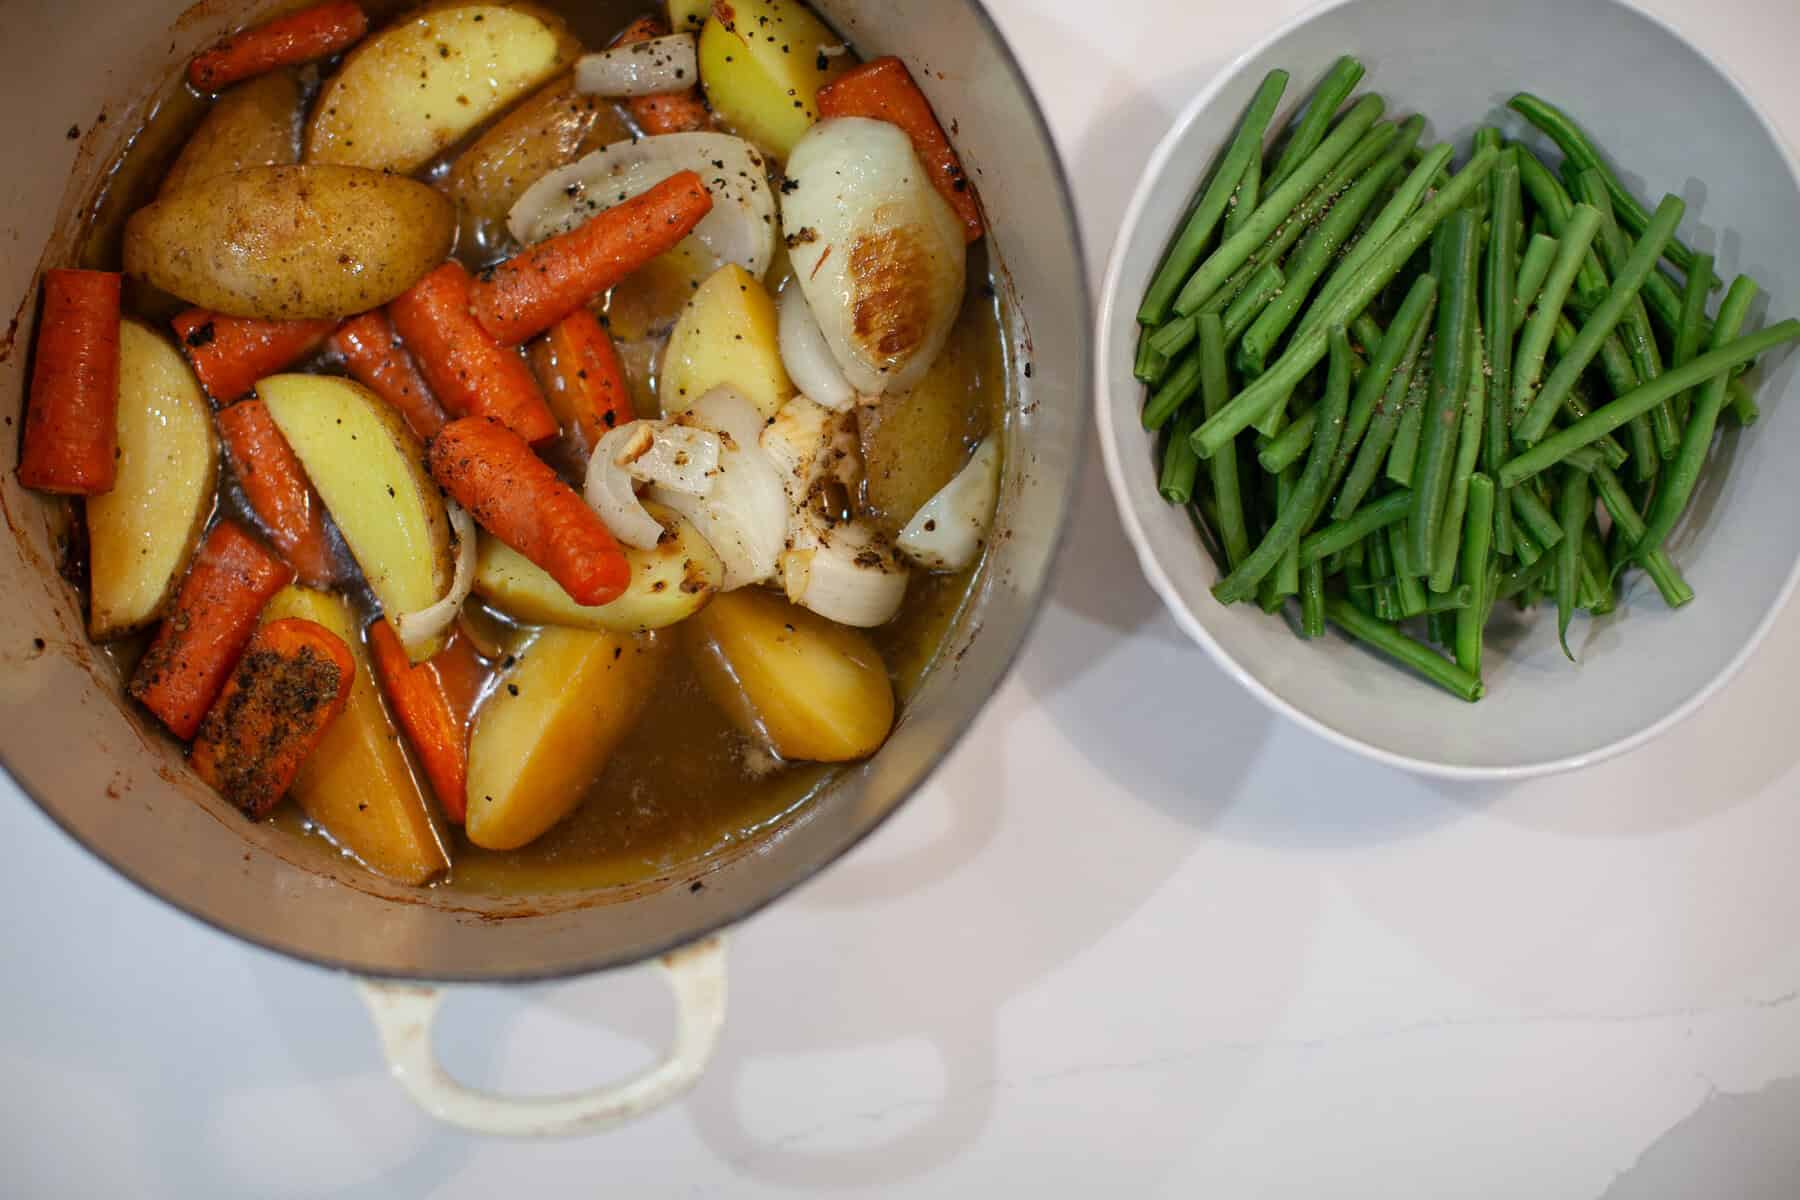
The slow cooker is the recovery-day workhorse. Low effort, eight-hour timer, no thinking required. You drop in a tough cut (chuck roast, pork shoulder, bone-in chicken thighs), add aromatics and just enough liquid, set it on low, and walk away. By dinner, the collagen has melted, the meat is shreddable, and you didn’t have to babysit anything. It’s also nearly impossible to overcook fatty cuts in there, which is part of why it’s forgiving for new cooks.
The pitfall is that slow cookers don’t brown anything, ever. Raw meat dropped straight in comes out gray, with a steamed surface and a one-dimensional flavor that no amount of seasoning rescues. Sear the meat in a hot skillet for 90 seconds per side before it goes in. That single step is the difference between “fine” and “I want to eat this every week.” The other pitfall is overconfidence: lean cuts dry out, vegetables go to mush after 6 hours, and dairy-based sauces split. Add the dairy at the end. Add quick-cooking vegetables in the last hour, not the first.
Use the slow cooker on busy weekdays, for shredded meats (carnitas, pulled pork, shredded chicken, beef chili), and any dish where the goal is fork-tender, not crusty. Skip it for steaks, roasts you want pink in the middle, and cuts under about 1.5 pounds.
6) The Pressure Cooker (Instant Pot)
The pressure cooker is the slow cooker’s impatient cousin. It does the same job in a quarter of the time. By sealing in steam, it pushes the boiling point up to roughly 250°F, which forces tough collagen-heavy cuts to break down in 45 to 75 minutes instead of 8 hours. Chuck roast, short ribs, pork shoulder, bone-in chicken thighs, bone broth: all of these come out tasting like they took half a day.
The pitfall is texture and feel. Pressure-cooked meat tends to be softer and more uniformly tender, which some people love and others find one-dimensional, almost too easy. You also can’t open the lid to check progress mid-cook, so you’re committing to your timing the moment you seal it. And like the slow cooker, the pressure cooker doesn’t brown. Most multi-cookers have a sauté function. Use it. Brown the meat for 90 seconds per side first, then pressure cook. That’s the whole game.
Reach for the Instant Pot when you want slow-cooker results in a weeknight window, when you’re making stew, chili, shredded meats, or stock, and especially when you forgot to start something at 9 a.m. and it’s already 6 p.m. Don’t use it for cuts you want pink, sliceable, or crispy.
7) Sous Vide
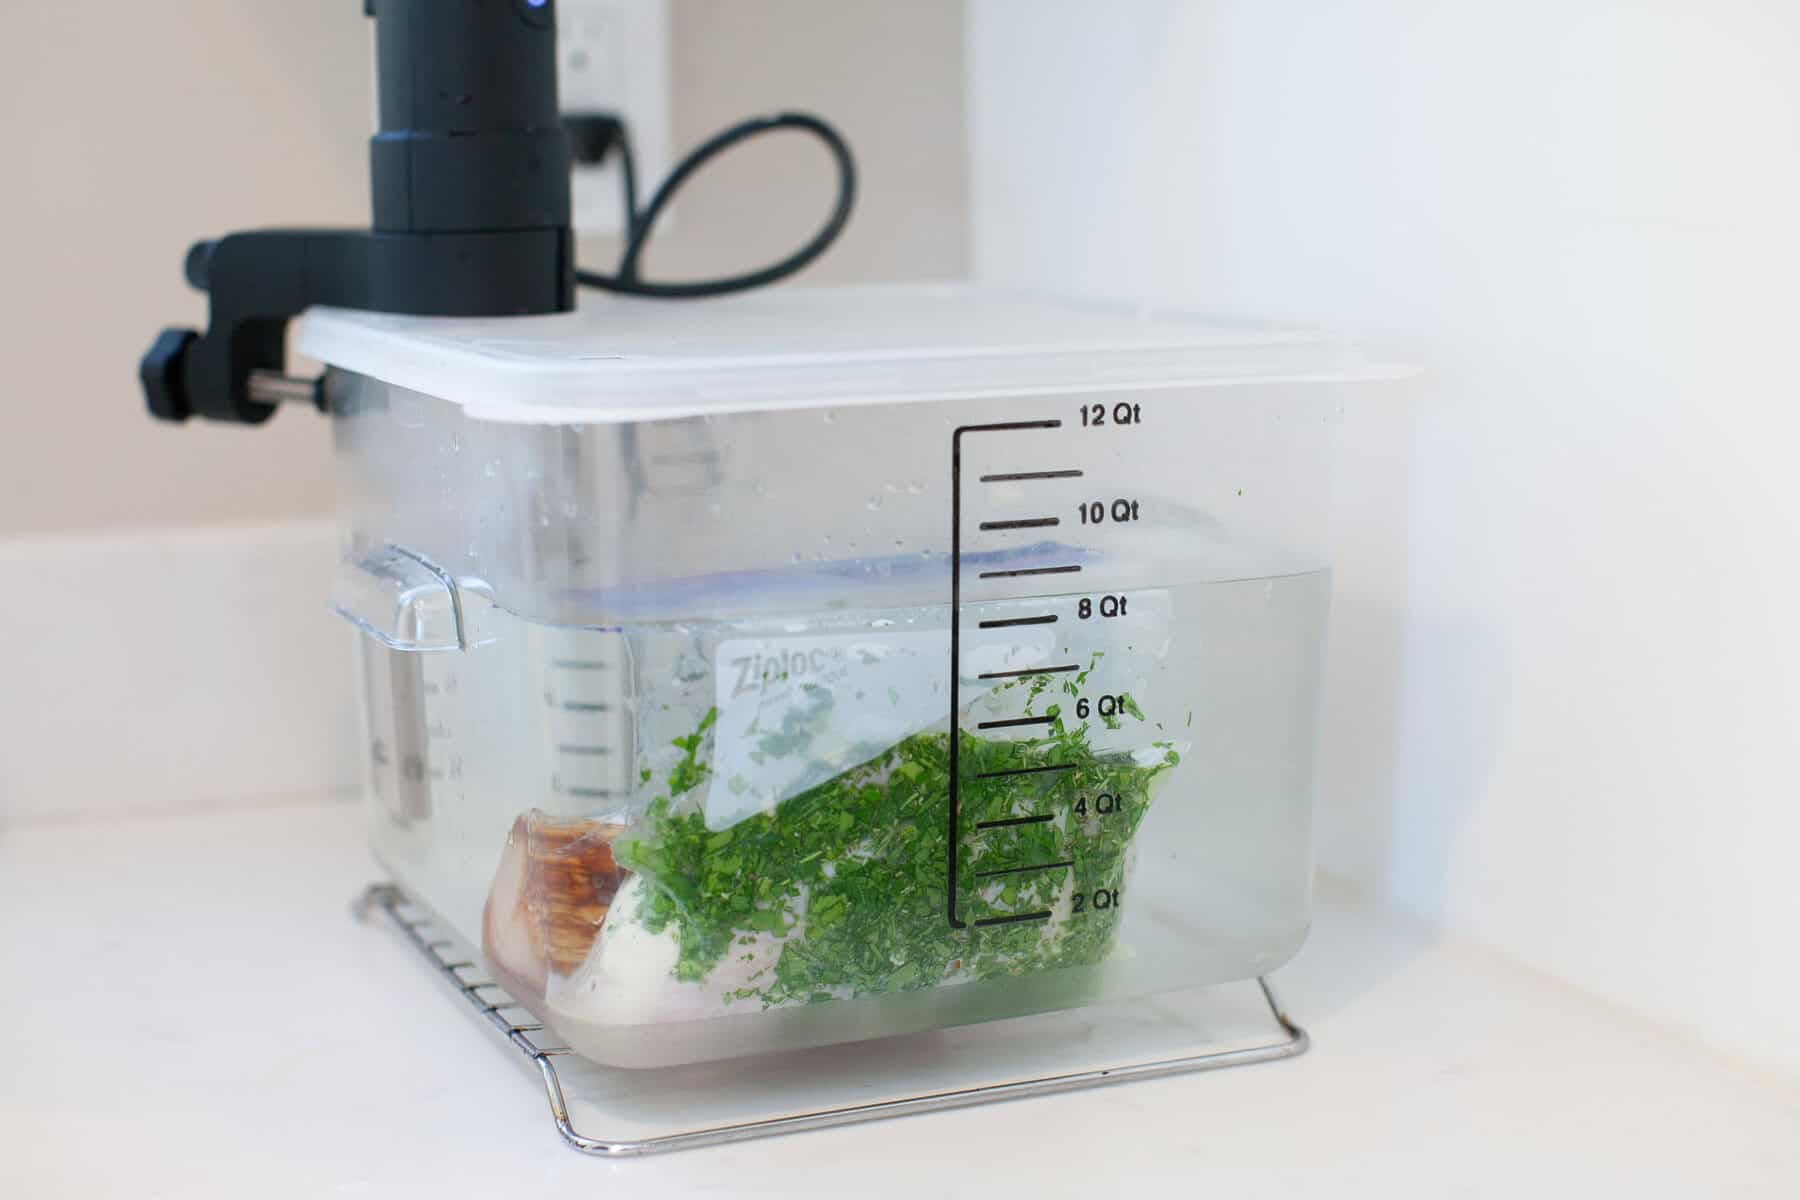
Sous vide is the precision-strength lift. You vacuum-seal the meat, drop it into a water bath held at an exact temperature, and let physics handle the rest. Because the water never gets hotter than your target doneness, a steak set to 130°F will stay medium-rare even if you forget about it for three hours. It’s the only method on this list that makes edge-to-edge perfect doneness genuinely easy.
There’s also a piece of food science most people don’t know about sous vide: pasteurization is a function of temperature AND time, not just temperature. A chicken breast held at 140°F for an hour is just as safe to eat as one cooked to 165°F for 30 seconds. The difference is that the 140°F version is juicy and tender. The 165°F version is the dry chicken you hated as a kid. Same safety, totally different result.
The pitfalls are texture at the surface and gear. Sous vide alone produces meat with a soft, almost poached exterior, which is why you have to sear it hard in a screaming-hot pan or with a propane torch after the bath. Skip that step and you’ve made a slightly disappointing protein log. Long sous vide times can also turn some cuts mushy (fish at 4 hours, lean steaks past 3 hours), so the “set it and forget it” claim has limits. And the gear adds an immersion circulator, a bin, and bags to your kitchen.
Sous vide is the right call for thick steaks (over 1.5 inches), chicken breast you don’t want to dry out, pork chops, and dinners where people want different doneness levels at the same table. Cook everything to medium-rare in the bath, then sear individual pieces to taste. Stress level: zero.
8) The Air Fryer
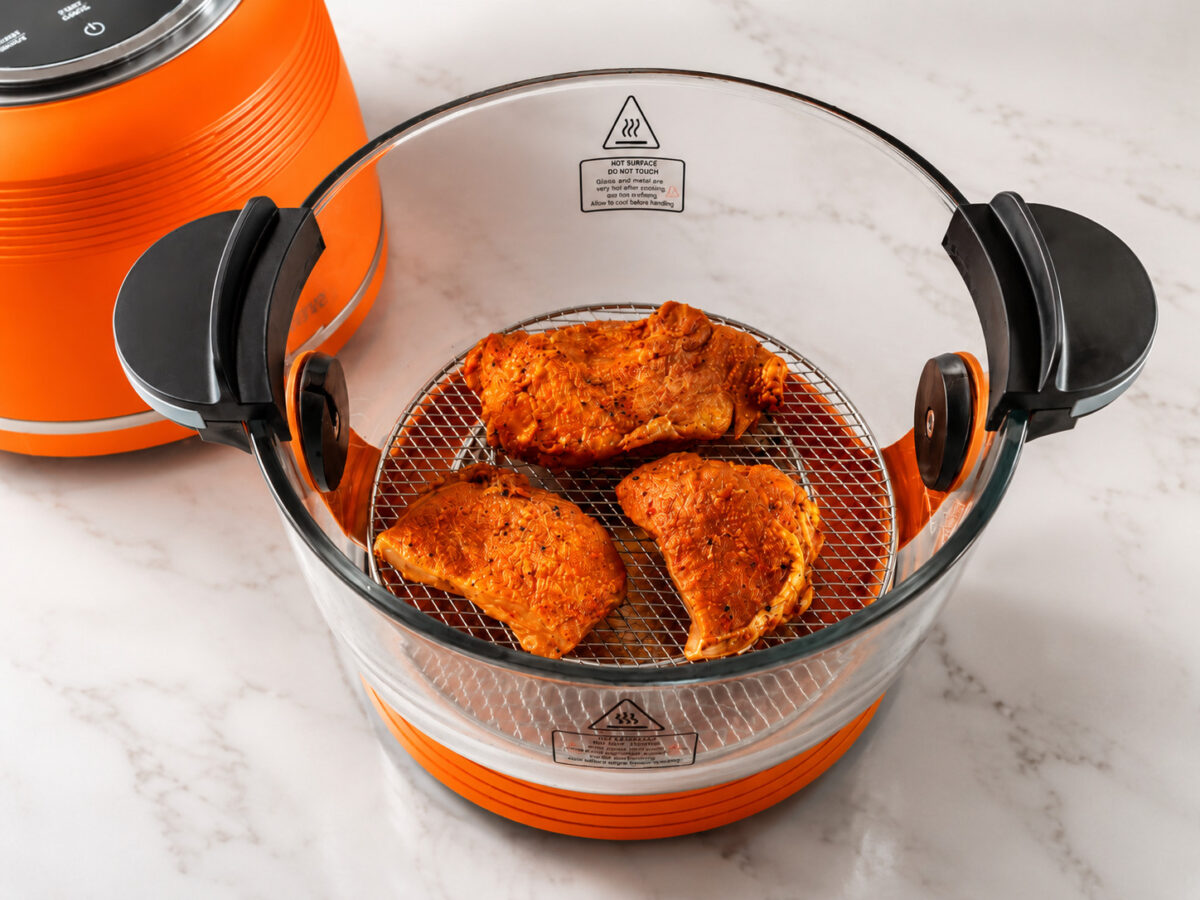
The air fryer is a small, fast convection oven with branding. The fan moves hot air aggressively around the food, which means meat gets browned and crispy without much oil. Wings, drumsticks, sausages, meatballs, pork chops, and even small steaks come out the way they would from a 425°F oven, but in 15 to 25 minutes and without preheating a full range.
The pitfall is capacity, and people keep ignoring it. You can’t fit a roast in there. You can’t feed six people in one batch. And the second you overcrowd the basket, the airflow stops working and you’re effectively steaming the food, not air-frying it. Single layer, with space between pieces. The other trap is treating it like a magic box that doesn’t need a thermometer. It still cooks with heat. Pork chops still need to hit 145°F. A dial that says “chicken” doesn’t know how big your chicken is.
Use the air fryer for small portions, weeknight cooking, leftovers you want to revive (it’s genuinely the best tool ever invented for reheating fried chicken or pizza), and any night you want oven-style results without firing up the actual oven. Wrong tool for crowds, big roasts, or anything you’d normally braise.
Bonus: Two Hybrid Techniques Worth Knowing
Reverse Sear. For thick steaks (1.5 inches or more), put the meat in a 250°F oven until the internal temperature hits 110°F to 115°F, then sear hard in a ripping-hot cast iron pan for 60 to 90 seconds per side. You get edge-to-edge medium-rare with a real crust, no gray band, no guesswork. It’s the best way to cook a steak at home, and most steakhouses use a version of it.
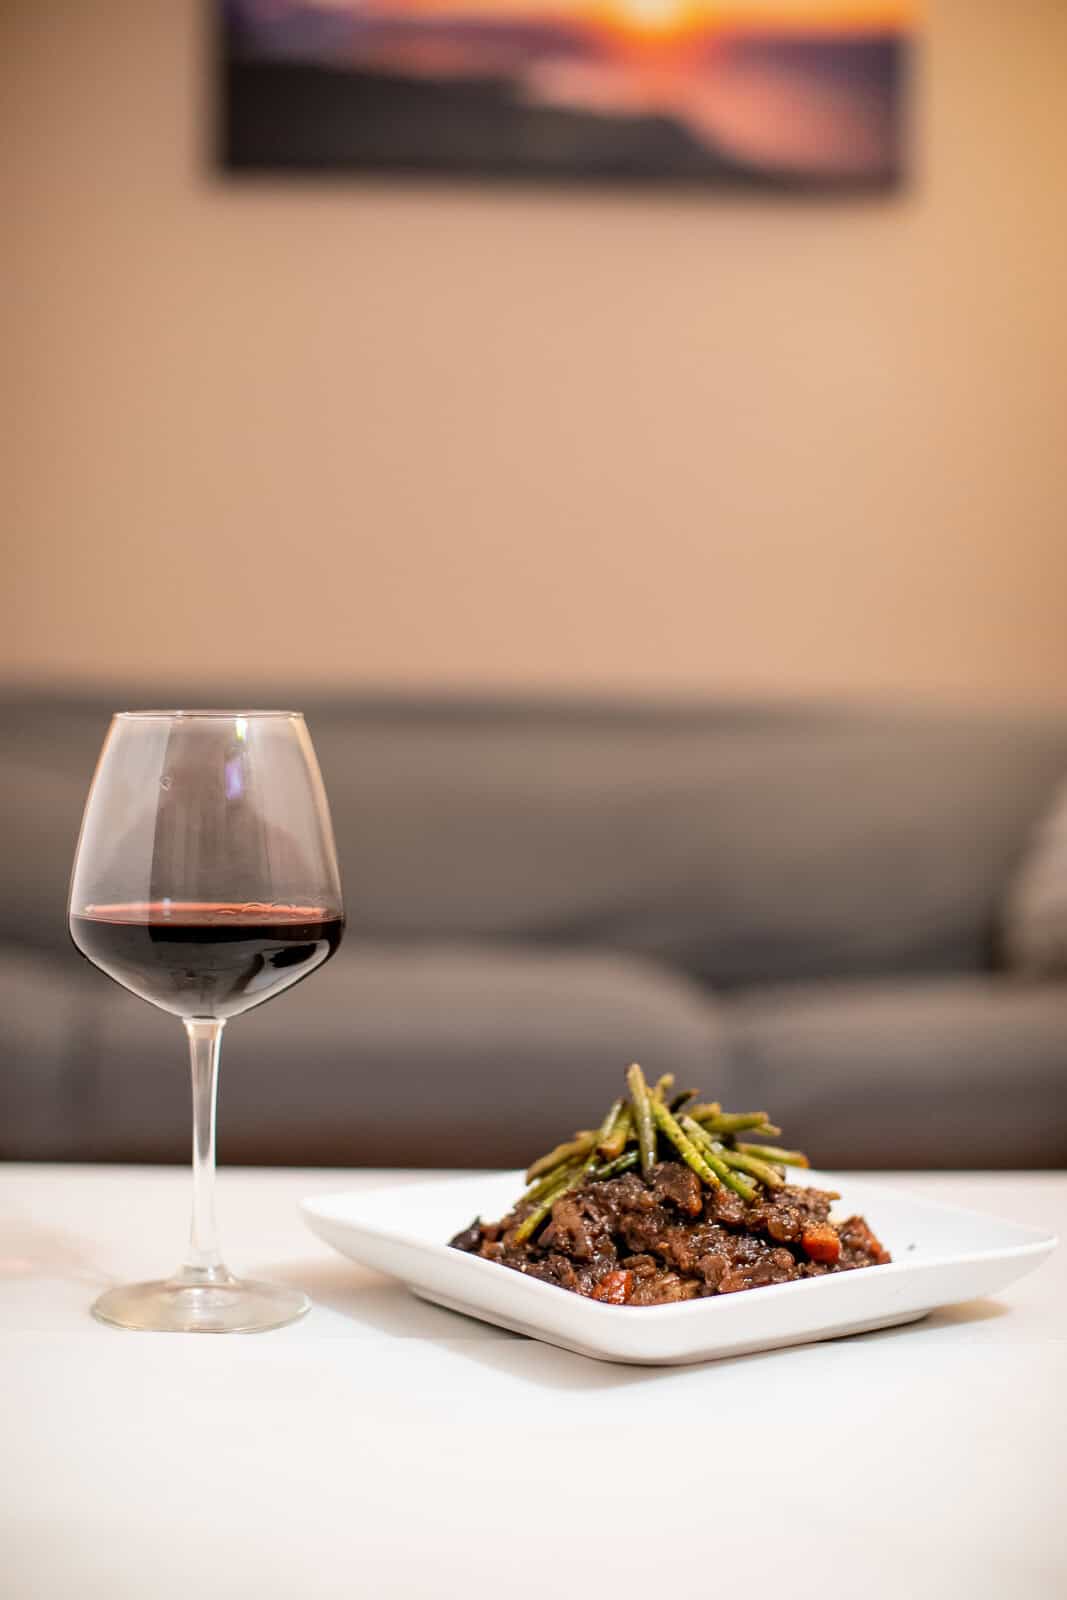
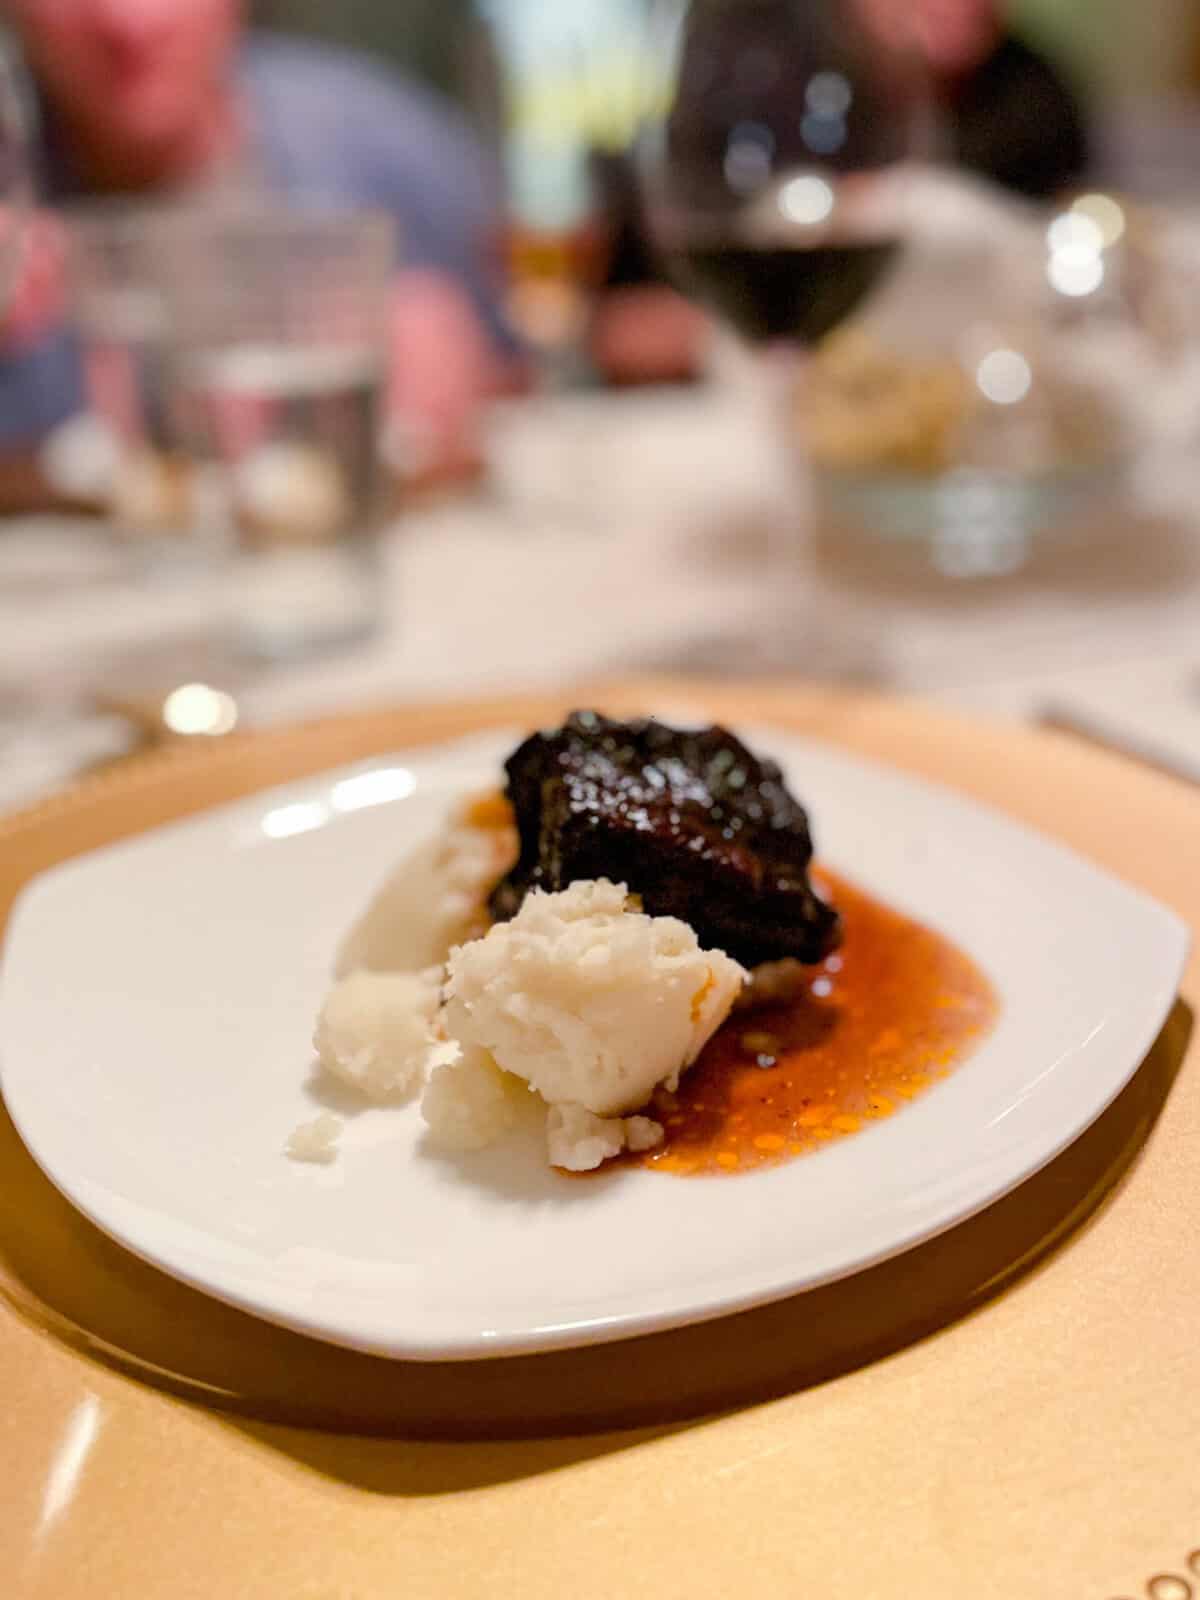
Braising. Sear the meat hard, then cook it partially submerged in liquid (wine, stock, tomatoes) in a covered Dutch oven at 300°F to 325°F for 2 to 4 hours. Short ribs, lamb shanks, osso buco, coq au vin: all braises. It’s slow-cooker logic with stovetop-level browning, and the resulting sauce is half the reason to make it.
Internal Temperature Cheat Sheet
Pull-from-heat temperatures by meat and doneness. Remember that meat carries over 5°F to 10°F while resting, so pull a few degrees early.
| Meat | Rare | Medium-Rare | Medium | Medium-Well | Done / Safe |
|---|---|---|---|---|---|
| Beef steaks & roasts | 120–125°F | 130–135°F | 140–145°F | 150–155°F | 160°F+ |
| Lamb | 125°F | 130–135°F | 140°F | 150°F | 160°F |
| Pork (chops, tenderloin, loin) | — | — | 145°F | 150°F | 160°F |
| Chicken & turkey | — | — | — | — | 165°F (or 150°F held 3+ min, sous vide) |
| Ground beef, lamb, pork | — | — | — | — | 160°F |
| Ground chicken or turkey | — | — | — | — | 165°F |
| Brisket, pork shoulder, ribs | — | — | — | — | 195–205°F (collagen breakdown) |
| Fish | — | — | 125–130°F | — | 145°F |
The 195–205°F line for brisket and pork shoulder isn’t a safety number, it’s a tenderness number. Those cuts are food-safe at 160°F, but they don’t become pull-apart tender until the connective tissue fully gelatinizes 30 to 40 degrees higher.
How to Pick the Right Method
The fastest way to choose is to think about the cut and the clock. Tender cuts (steaks, chops, tenderloin, chicken breast) want fast, high-heat methods: grill, skillet, broiler, sous vide. Tough cuts (brisket, chuck, pork shoulder, short ribs) want slow, low-heat methods: smoker, slow cooker, pressure cooker, braise. Match the cut to the method and you’re already 80% of the way there.
The other variable is how much time and attention you actually have, not the time you wish you had. A Tuesday with 25 minutes is a stovetop or air fryer night. A Saturday with six people coming over is a smoker or grill day. A meal-prep Sunday is sous vide, slow cooker, or sheet-pan oven territory. Pick the method that fits the day you’re in, and dinner gets a lot easier. Force the wrong method onto the wrong cut and you’ll spend the night staring at a thermometer wondering where it all went sideways.
The thermometer, by the way. Still the most important thing on the list.