

Cooking meat is very similar to training. Just like how each training method is unique, there are unique approaches to cooking. It isn’t always about having the fanciest equipment. A good cook knows what to use for what scenario. Not every type of meat requires the same cooking method.
A ribeye steak is not going to need the same setup as a pork shoulder. Chicken thighs don’t need the same level of setup as a brisket, which could take 12 hours. A good cut of meat can leave a lot to be desired if the wrong preparation method is used.
There is also one equipment item that beats all other purchases on this list, and yes, it is not the fancy one. A $15 instant-read thermometer will improve your cooking more than a $1,500 grill. Buy that first. Then return here and decide on the method that matches the meat in the fridge.
Here are the main eight cooking methods and how they actually function, including the parts that nobody tells you about.
The Quick Comparison
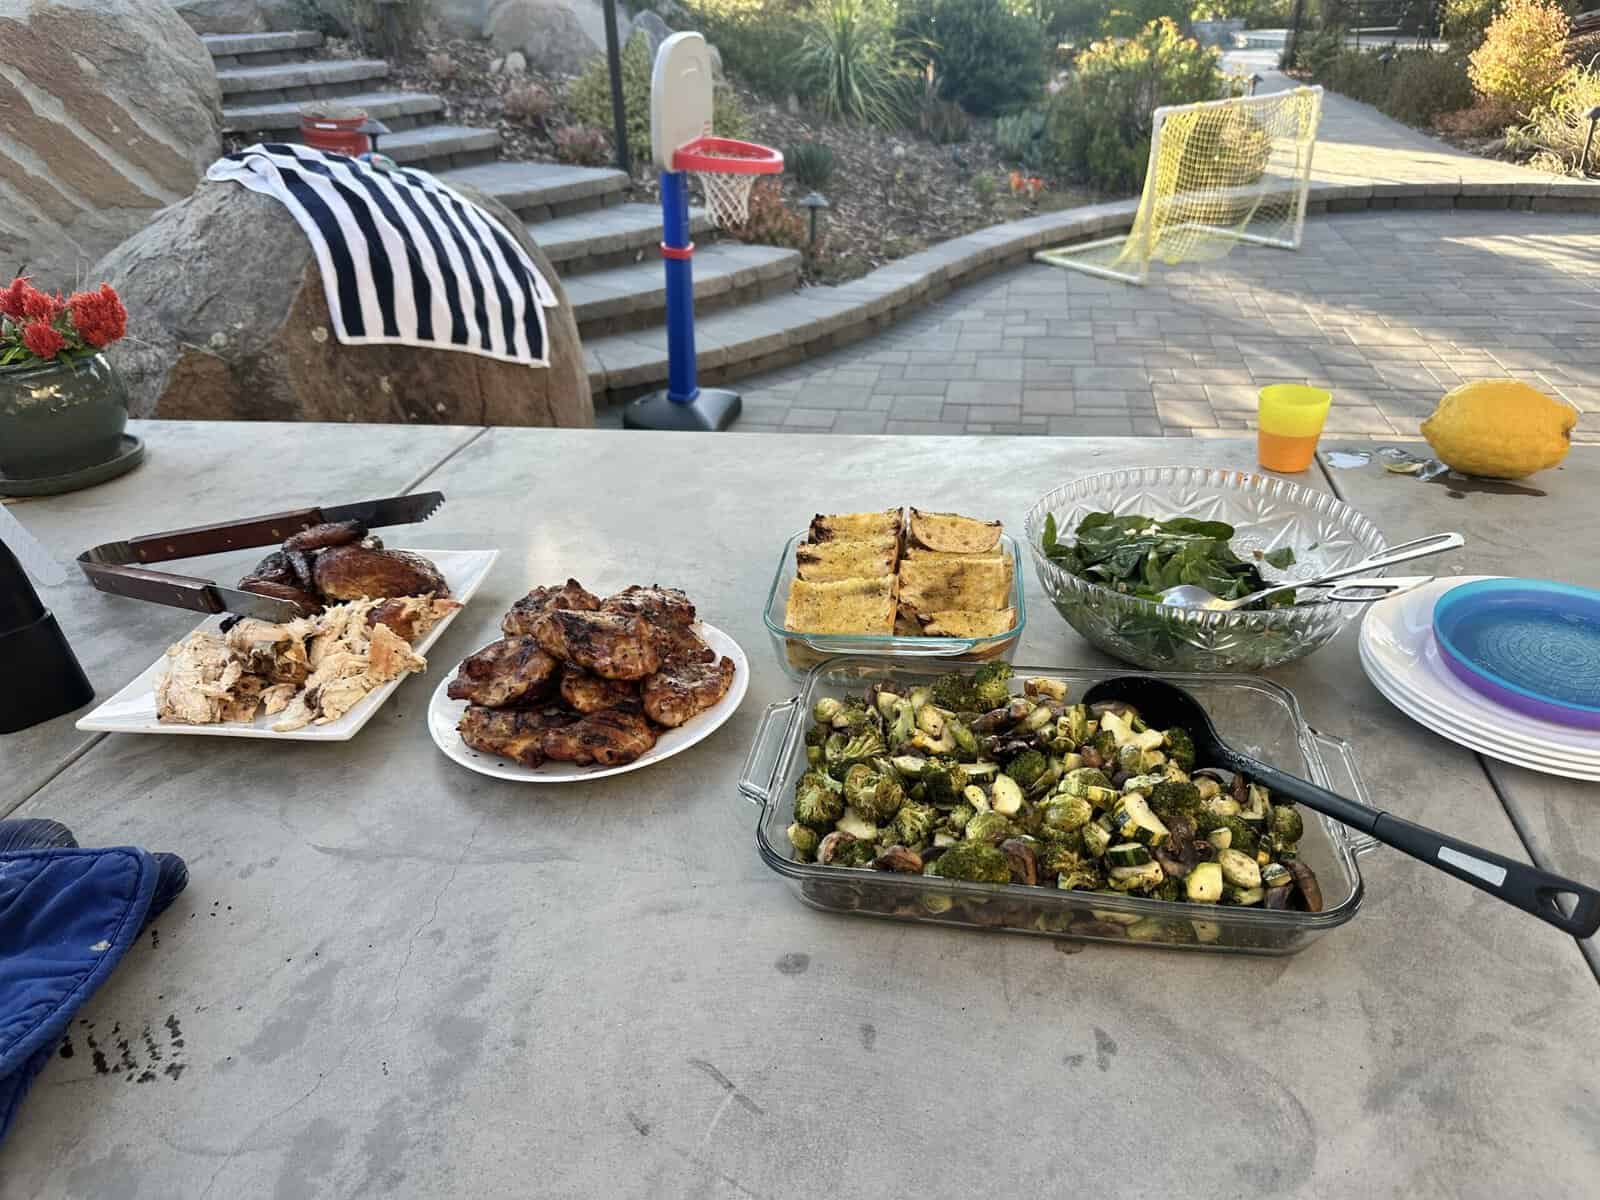
If you would like to have the cheat sheet first, here are the eight methods in order.
| Method | Best For | Temp Range | Typical Time | Hands-On Level | Crust Potential |
|---|---|---|---|---|---|
| Oven (Roast) | Whole birds, roasts, sheet pans | 375-450°F | 30 min-3 hr | Low | Moderate |
| Pan-Sear | Steaks, chops, cutlets, burgers | 450-700°F surface | 5-15 min | High | Excellent |
| Grill | Burgers, steaks, chops, kebabs | 400-700°F | 5-30 min | Medium-High | Excellent |
| Smoker | Brisket, ribs, pork shoulder | 200-275°F | 4-16 hr | Low (after setup) | Bark |
| Slow Cooker | Tough cuts, shredded meats | 190-210°F | 6-10 hr | Minimal | None |
| Pressure Cooker | Tough cuts, stew, broth | ~250°F internal | 30-90 min | Low | None |
| Sous Vide | Steaks, chicken breast, chops | 130-165°F | 1-4 hr + sear | Minimal | Needs post-sear |
| Air Fryer | Wings, small portions, reheats | 350-425°F | 10-25 min | Low | Good |
1) The Oven (Roasting and Baking)
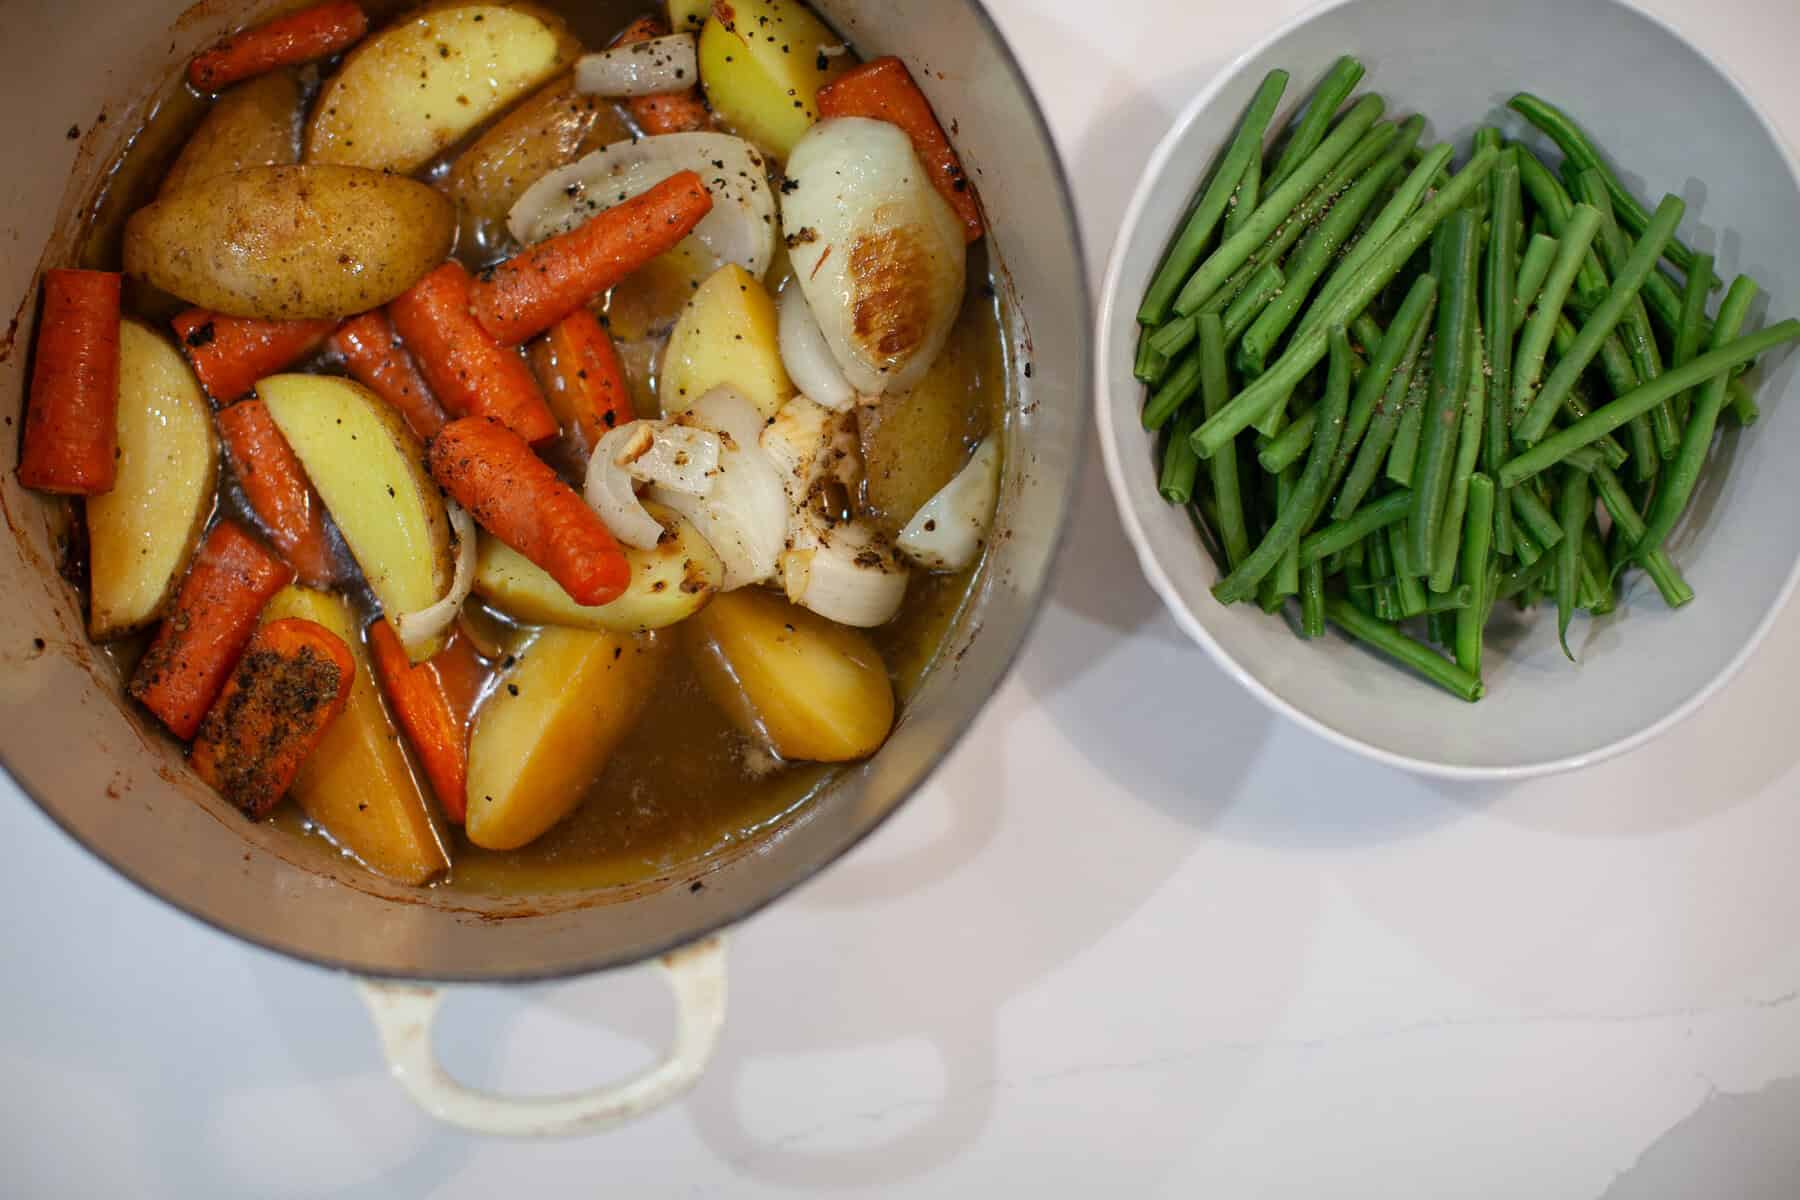
The oven is the most reliable training partner. It maintains the temperature, allows you to walk away, and doesn’t get all dramatic. Dry, even heat from every direction gives you golden roasts, crisp sheet-pan dinners, and the kind of full-house spread you’d call “Sunday food.” It’s also the only method on this list that scales to feeding eight people without doing four batches.
Moisture and color are the pitfalls. With temperatures below 300°F, little to no Maillard reaction occurs, which is why low-roasted chicken is always so pale and underwhelming. Above 425°F, lean cuts like the pork tenderloin or the chicken breast dry out quickly, and you can dry them out without even noticing.
The solution that most home cooks skip is to roast hot (425°F or higher) but for shorter times, or to sear in a skillet first and finish the roasting in a 375°F oven. With either method, you achieve crust and moisture, rather than one or the other.
Use the oven when cooking for a group, when you want to do minimal cooking, or when the cut is large enough to require real time monitoring (i.e. whole chicken, pork loin, rack of ribs, prime rib). The professional move is to place the meat on a wire rack over a sheet pan so that the bottom also crisps and isn’t stewing in its own juices.
2) Pan-Searing on the Stovetop
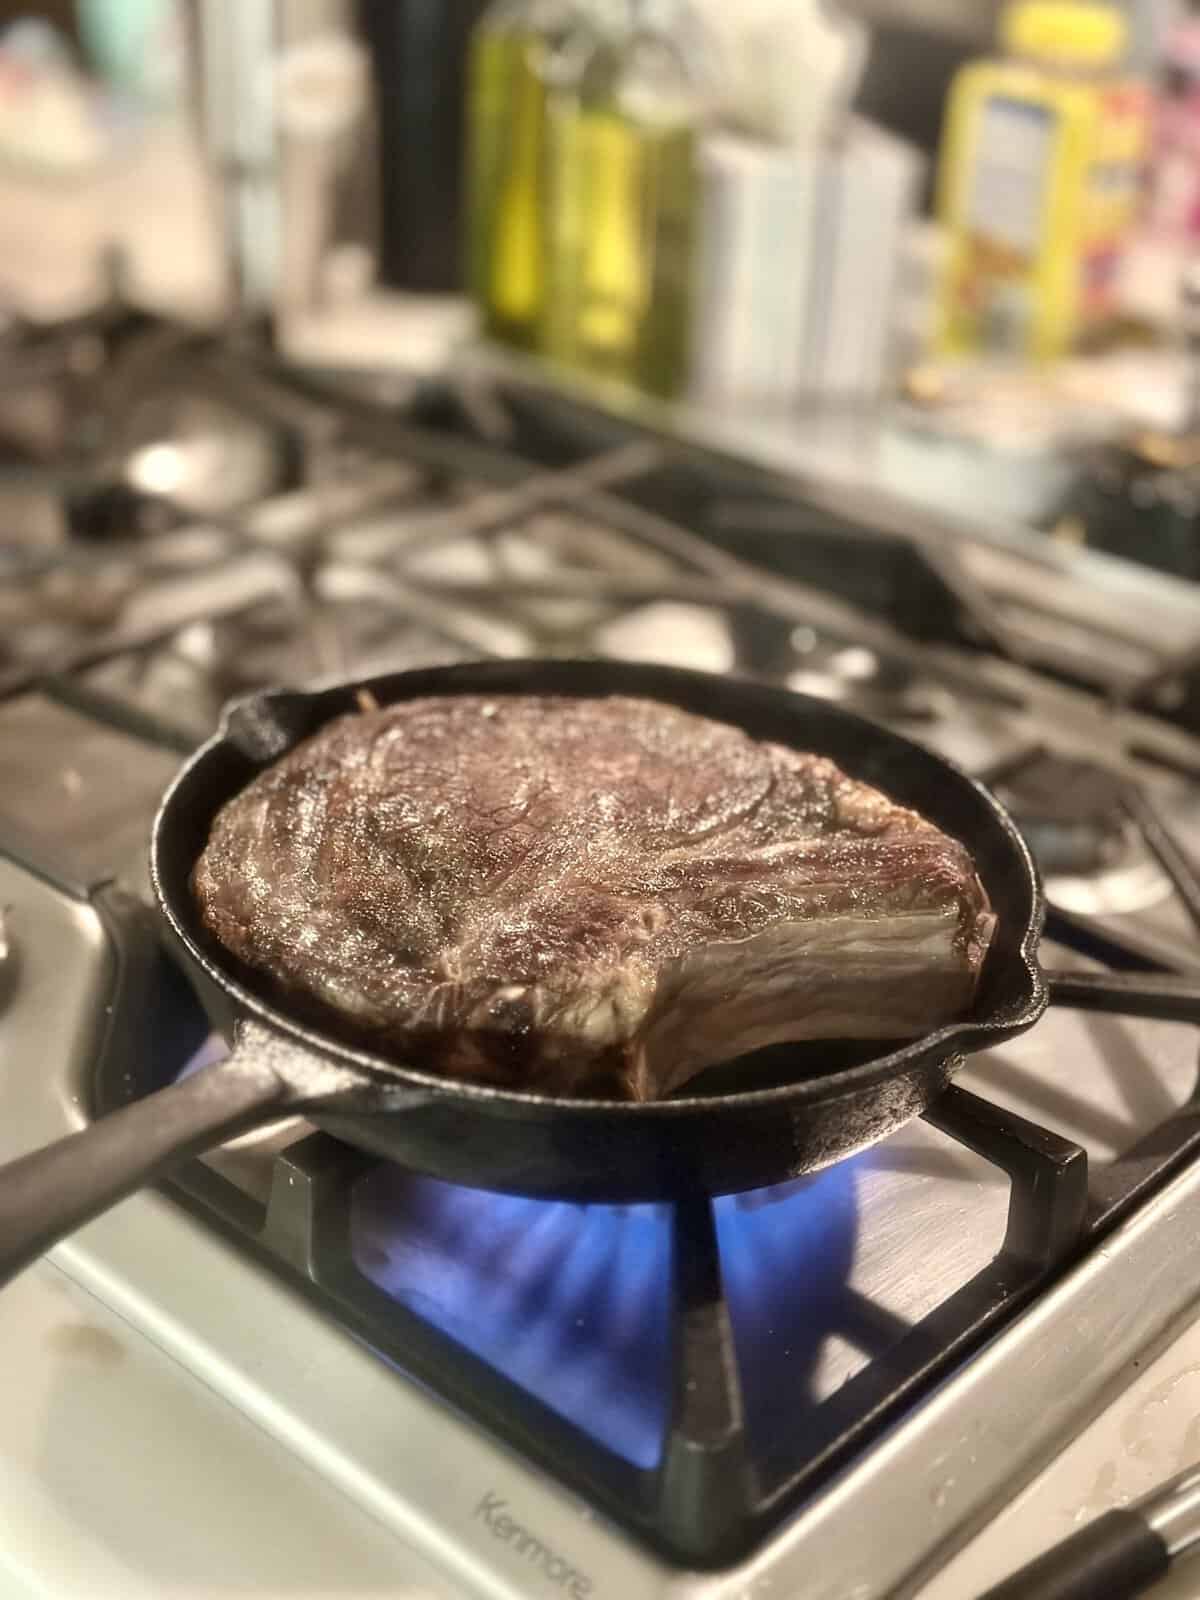
The skillet represents your sprint workout. It requires high heat for a short period, and full focus. While nonstick pans can reach a maximum temperature of 500°F, they will break down, while cast iron pans can withstand up to 700°F without issue.
Because of this, they are able to achieve Maillard browning, which is one of the final steps in cooking, and is the reason people get ribeyes from steakhouses. Your nonstick pan, on the other hand, will not be able to reach this temperature and thus will not achieve Browning.
The disadvantages are range and smoke. A stovetop skillet only deals with cuts about an inch thick for best results. Any thicker and you burn the outside before the inside is fully cooked. It will also fill your kitchen with smoke unless your hood is working extra hard so you might want to open a window or get ready for a smoke alarm concert.
And one last thing most people get wrong: don’t move the meat. Once it lands in the pan, leave it there for 3-4 minutes. A crust will only form if it is in contact with the pan, not if you are fiddling around with it every 20 seconds.
For steaks, chops, cutlets, burgers, boneless thighs, and anything where speed and crust are more important than thickness, use a stovetop. Sear thicker steaks on each end and then move to a 375°F oven to complete the cooking. This method is classic steakhouse and it works every time.
3) The Grill (Direct-Heat BBQ)
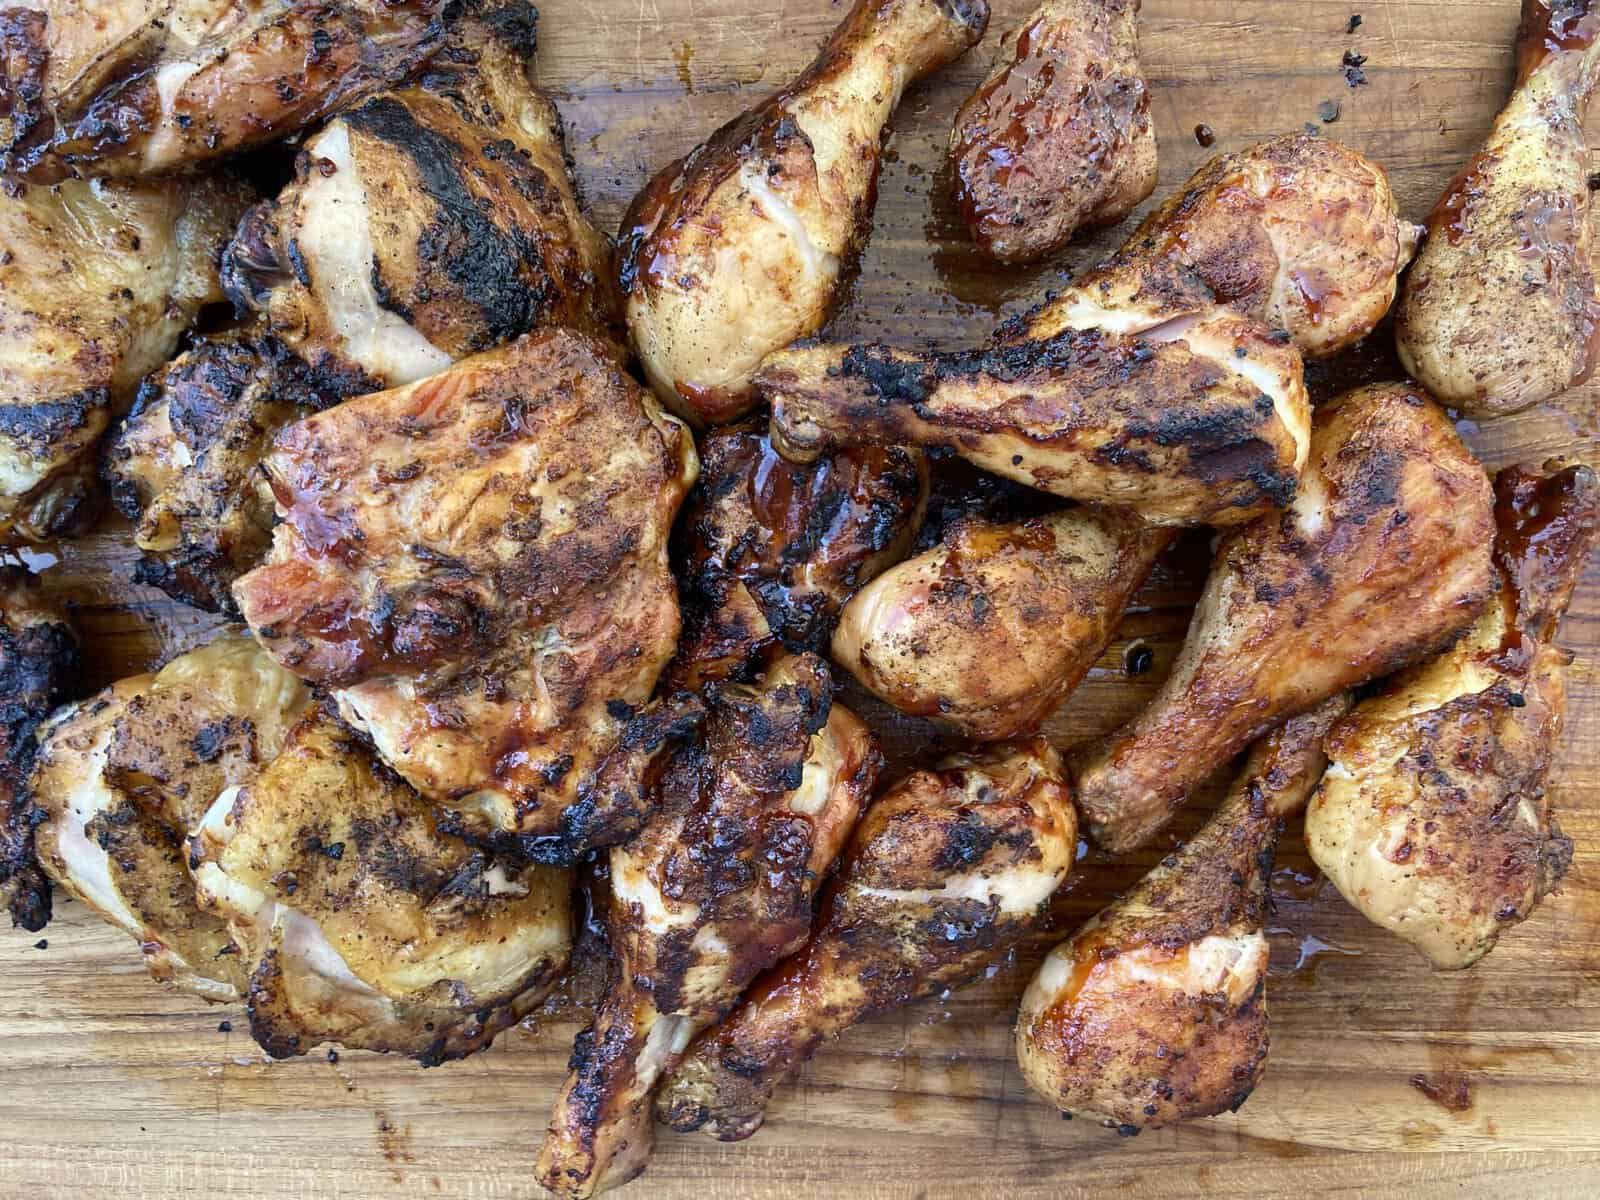
Much flavor originates from the grill. Indoor smoke and gas burners can’t replicate the real thing. Charcoal grills reach over 700°F and provide a true wood smoke flavor. Gas grills are great for convenience; however, they provide far less flavor and only reach 550°F. Both types of grills can be helpful, but it’s important to understand that they are not the same types of tools.
The main issue is managing heat. Many home cooks crank everything to max with the top cover open and are confused as to why the chicken is charred on the outside and under cooked on the inside. The easiest solution is to create a two zone fire: set the coals or burners to full on one side and off on the other.
You sear on the hot side and then move the meat to the cool side to gently finish it with the lid down. This one technique is the difference between those who grill properly and those who serve burnt hockey pucks.
Grill when the weather is nice, when you desire the greatest taste for the least amount of time, and when the cut is 1.5 inches thick or thinner. For larger cuts (tri-tip, pork shoulder, whole chicken), use the indirect zone with the lid closed and consider the grill to be an outdoor oven. If you want your markings to look like actual grill markings, don’t flip the item more than once.
4) The Smoker

During your long endurance day, consider the smoker your companion. Set the temperature and time, and let it do its thing. The smoking process generally operates between the 200°F and 275°F range, while also designed to handle cuts no other method can tackle, such as brisket, pork shoulders, ribs, beef cheeks, whole chickens, and cuts with plenty of connective tissue.
The magic of smoking meat is chemical. Collagen, the primary connective tissue which makes brisket tough, begins to break down and deteriorate around 160°F and converts into gelatin between 180°F and 200°F. That gelatin is why properly smoked meat is juicy without being greasy.
The stalling phenomenon, time, and patience are dangerous pitfalls. When an even 160°F is reached internally, the meat can plateau for 2-4 hours. This is because the moisture evaporating off the top cools the surface, preventing heat from continuing to penetrate. New smokers panic during this stage and turn up the heat, destroying the bark. Experienced smokers wrap meats in butcher paper, or foil (henceforth to be known as the “Texas crutch”) and break through the stall in about an hour.
The other pitfall is the types of wood used. Aggressive wood sources like hickory and mesquite can provide too much heat or smoke, while fruit woods such as apple, cherry, and pecan are more forgiving. Start with a more forgiving wood type and remember that you can always add more smoke, but once it’s there, you can’t take it away.
Smoke meats when you have an entire day to devote to the process, when you are serving a large group of people and when the cut of meat will take several hours to fully break down. However, do not smoke meats that are lean. For instance, chicken breasts and pork tenderloins will cook way too quickly to take on the true smoke flavor and will end up costing you a lot of money for what will certainly be an underwhelming experience.
5) The Slow Cooker (Crock-Pot)
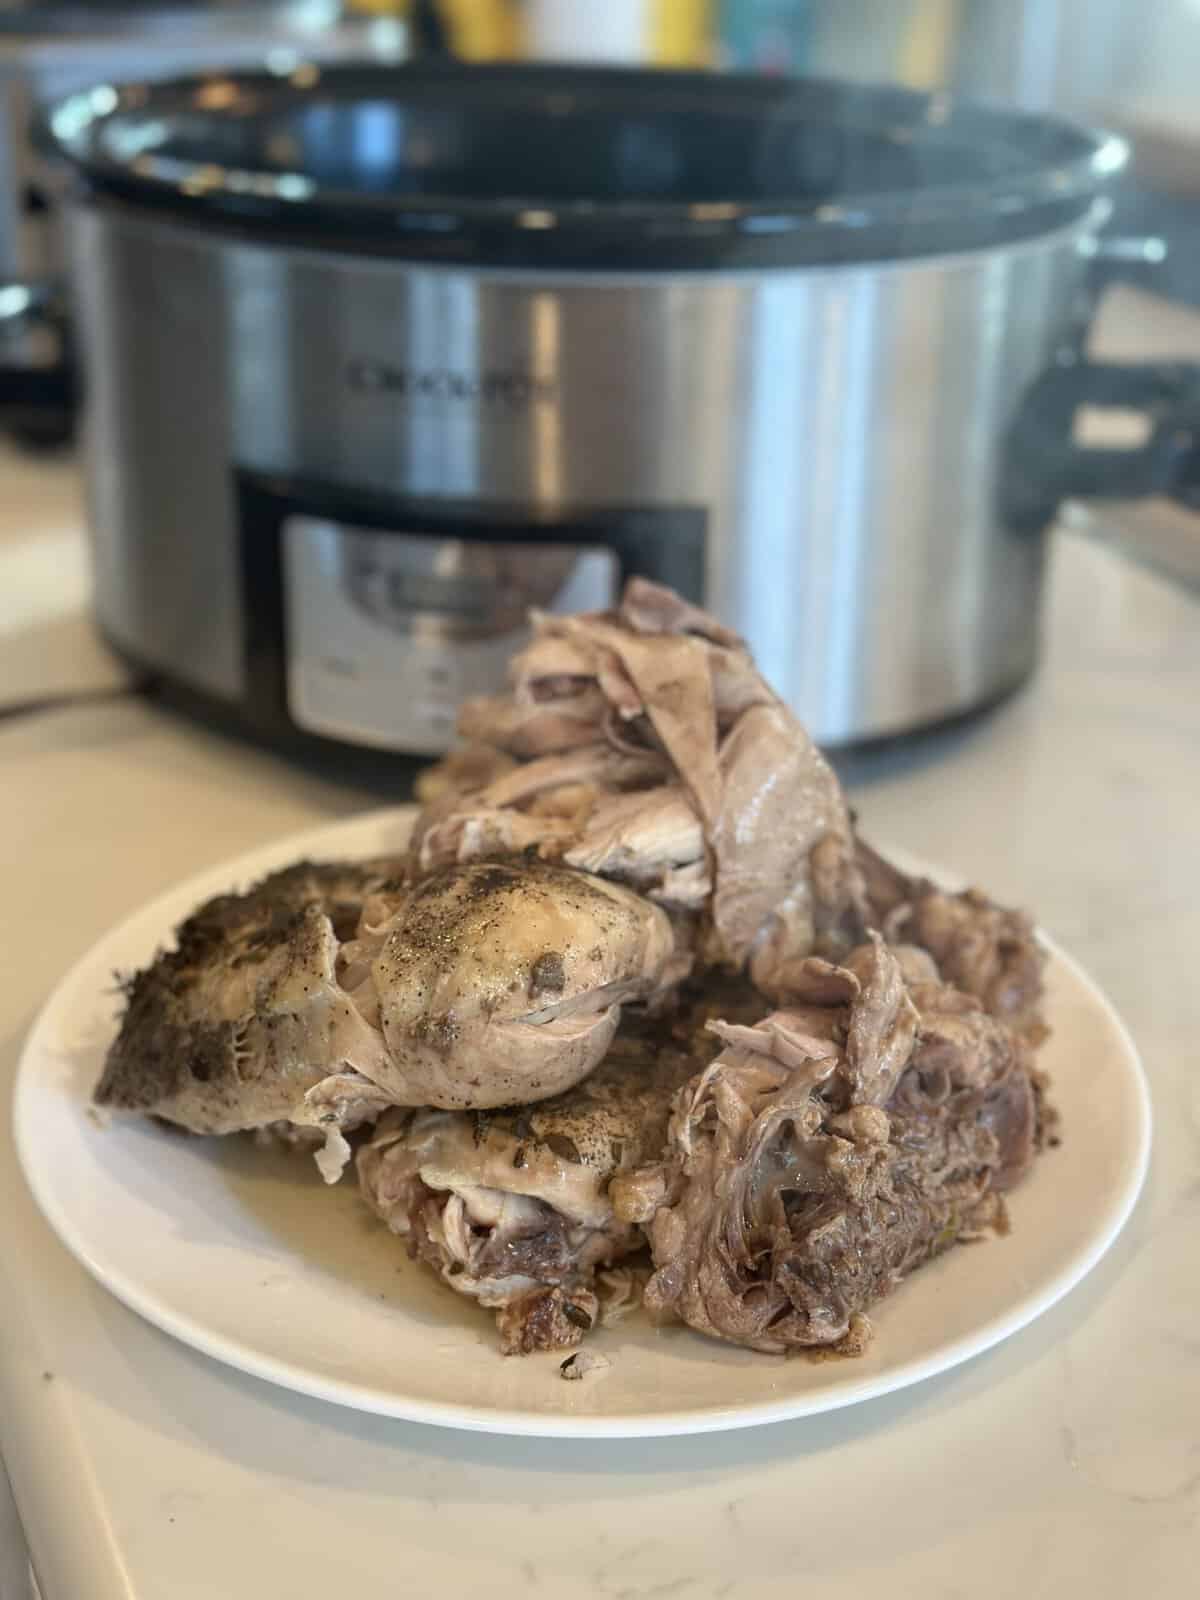
The slow cooker is the true champion of recovery days. No effort is needed from you because the cooker does everything for you. Just place a tough cut such as a chuck roast, pork shoulder, or bone-in chicken thighs inside with your choice of aromatic vegetables and an appropriate amount of cooking liquid, set the cooker to low for eight hours and you can leave the house without a second thought to the cooker.
By dinner, the collagen has melted, the meat is shreddable, and you didn’t have to babysit anything. New cooks can experiment using this method because it is nearly impossible to overcook fatty cuts of meat.
The drawback of using slow cookers is that they do not brown any ingredients. Meat placed in the cooker without any prior preparation will look unappetizing and taste bland, no matter how much seasoning is added. To improve the flavor and appearance of the dish, cook the meat in a hot frying pan for about 90 seconds on each side before placing it in the slow cooker.
That will make the dish go from “fine” to “I could eat this every week.” Another drawback is being overly confident that it will be a success. Cuts of meat that are lean will dry out, vegetables will turn to mush after being cooked for six hours, and sauces that have dairy in them will separate. Dairy should be added to the dish at the end. Quick-cooking vegetables should be added during the last hour of cooking, not beforehand.
On hectic weekdays, you can prepare meals like shredded meats (carnitas, pulled pork, shredded chicken, beef chili), and other dishes where the goal is for meat to be fork-tender instead of crusty. It is best to avoid slow cooking for steaks, roasts that you want to remain pink in the center, and any cuts that are less than about 1.5 pounds.
6) The Pressure Cooker (Instant Pot)
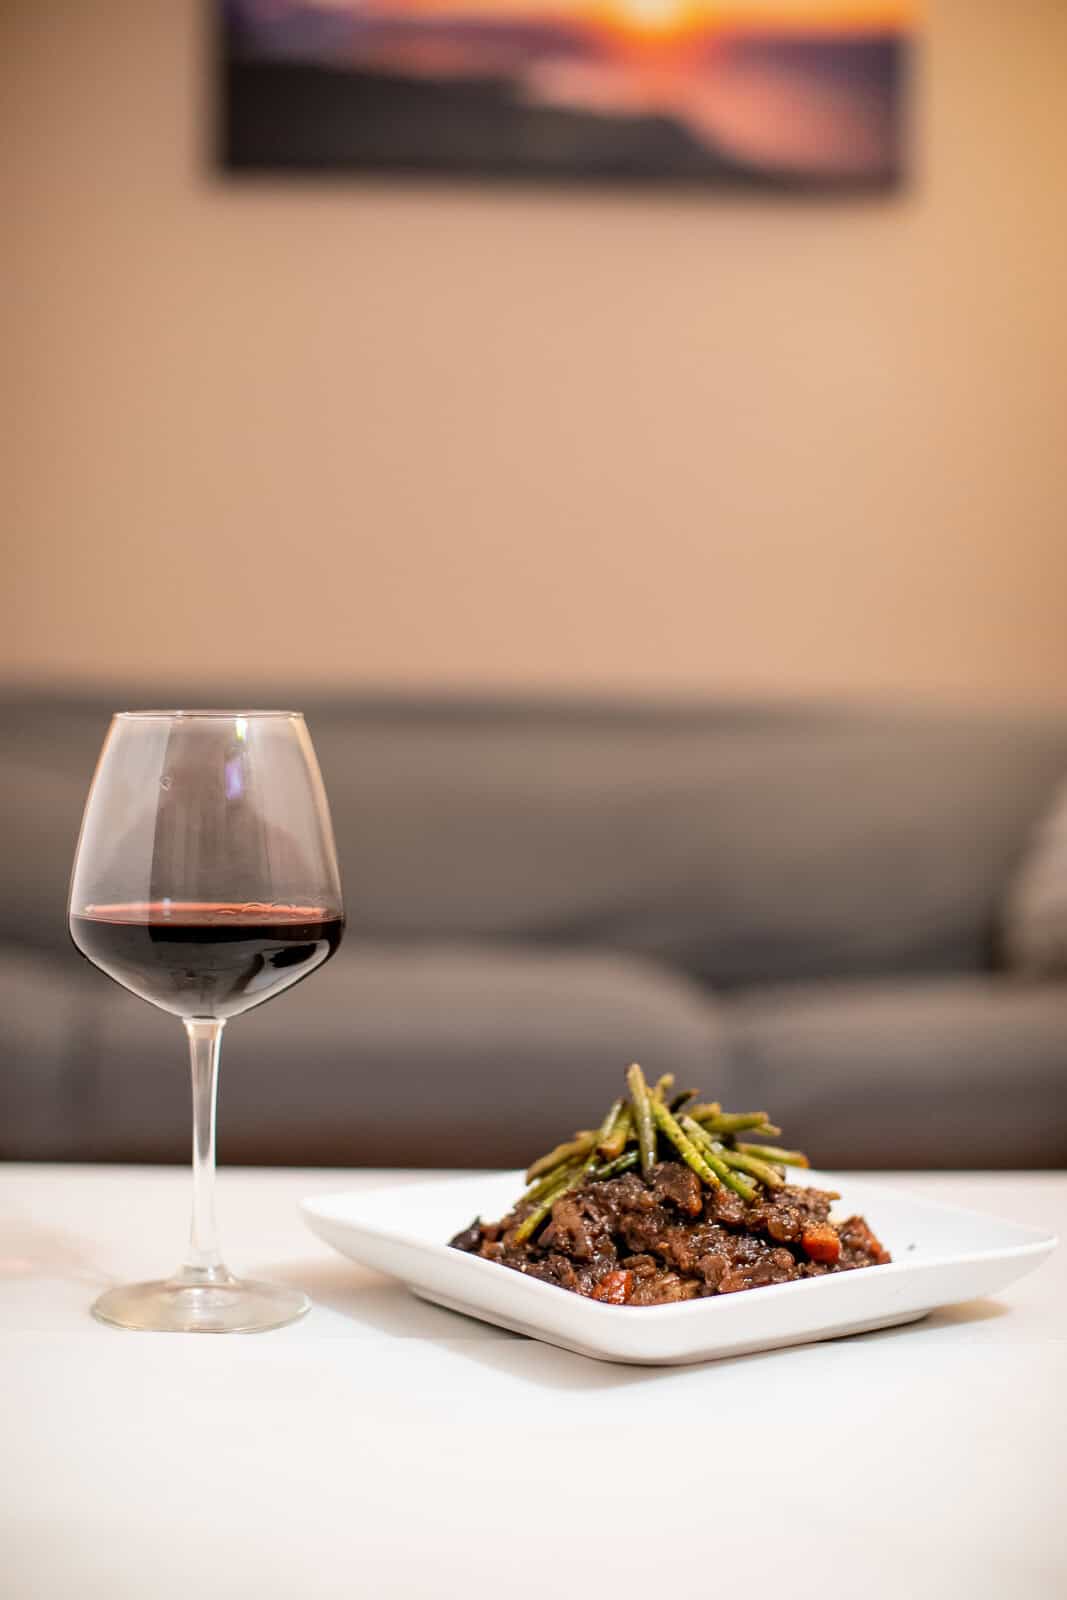
The pressure cooker is like the slow cooker’s cousin. Instead of taking 8 hours to make a collagen-heavy cut of meat tender like a chuck roast, short ribs, pork shoulder, bone-in chicken thighs, or bone broth, it takes 45-75 minutes. This is accomplished through trapping steam so the pressure cooker boils at about 250°F.
The downside is the texture and feel of the food. Pressure cooked meat ends up being tender and soft, which some people love but others describe as boring as they think it’s too easy. You also cannot open the lid to check progress while cooking, so you have to commit to a time the moment you seal the cooker.
Just like slow cookers, pressure cookers do not provide the meat with a brown crust. Most multi cookers have a saute function. Use it. For example, brown the meat for about 90 seconds for each side and then pressure cook it. That’s the whole game.
Grab the Instant Pot for slow-cooker results when you have a weeknight window for making stew, chili, shredded meat, or stock, and especially when you forgot to start something at 9 a.m. and it’s already 6 p.m. Don’t use it for cuts you want to be pink, sliceable, or crispy.
7) Sous Vide
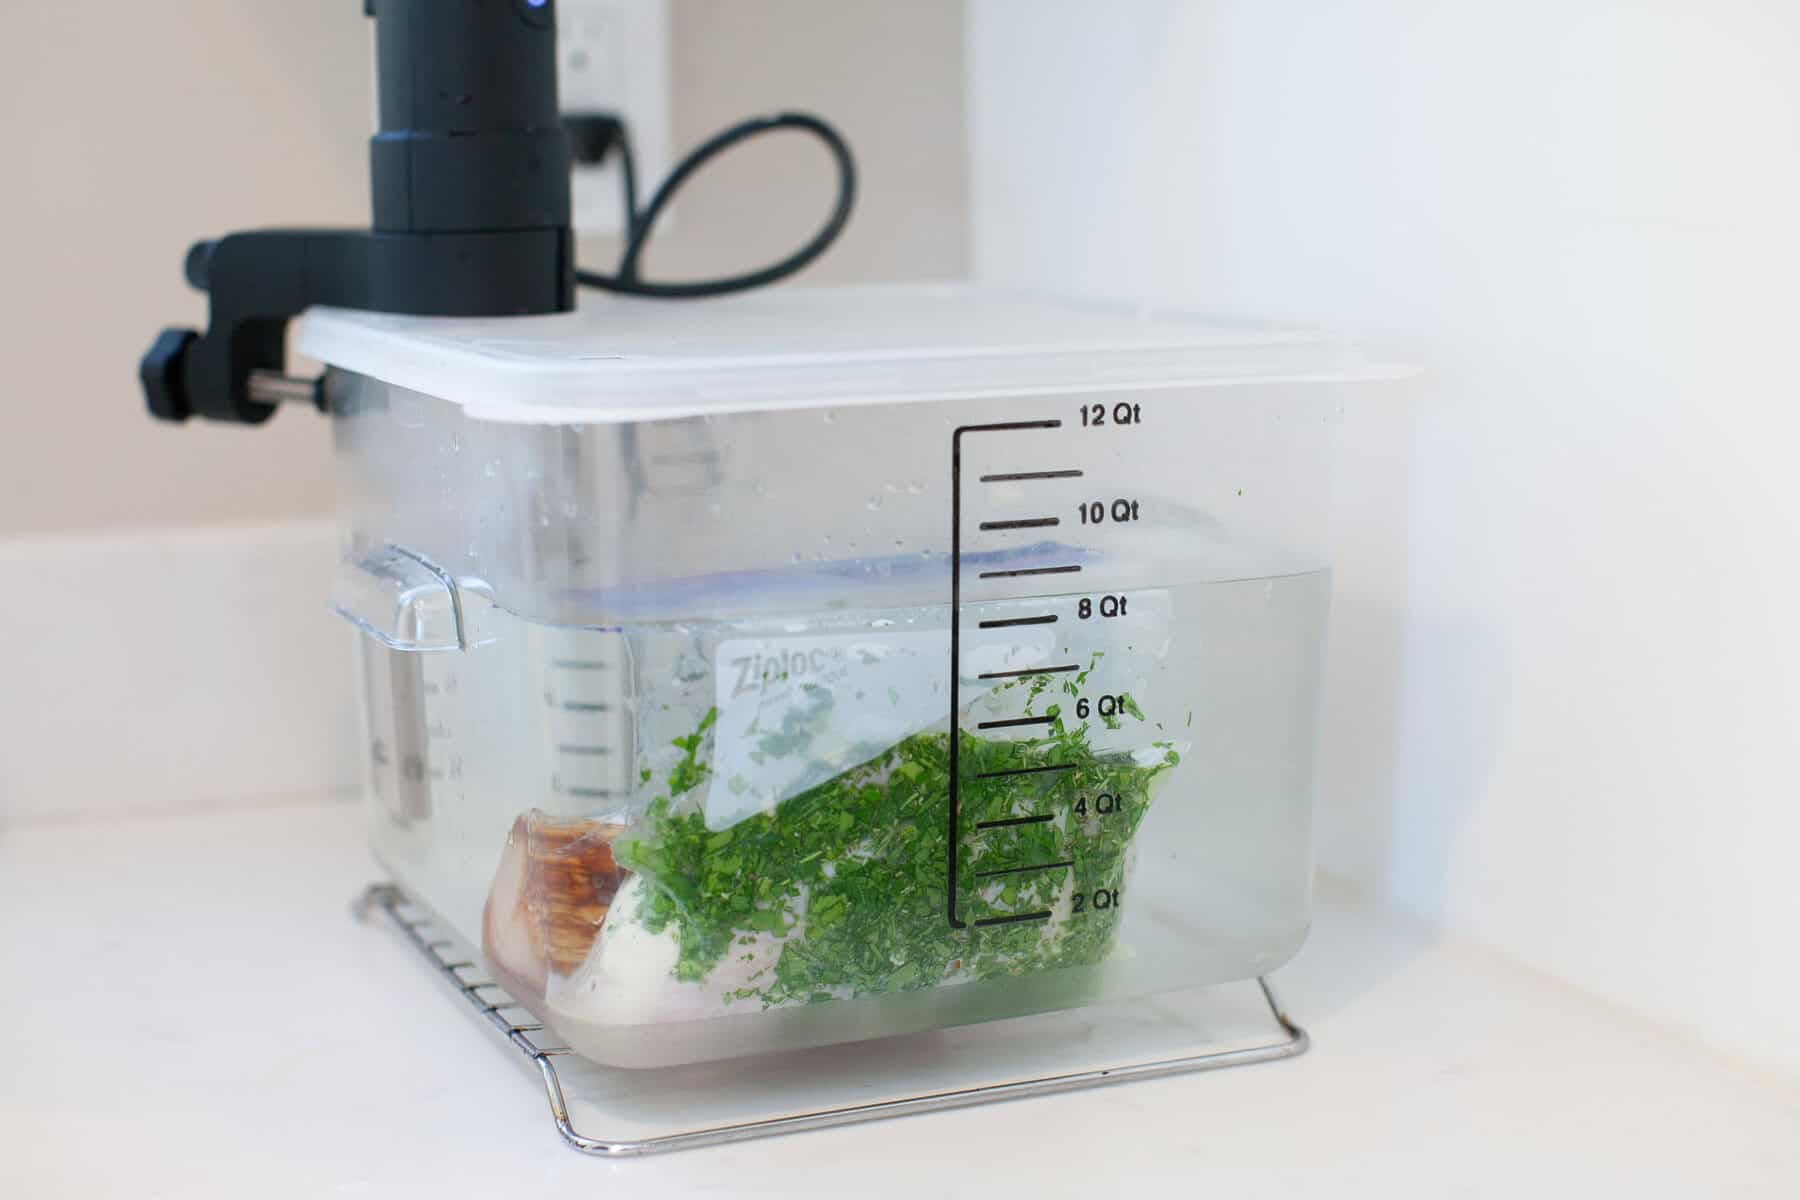
Sous vide is the precision strength lift. You vacuum seal the meat and place it into a water bath set to a specific temperature and let the meat cook. Since water will never get hotter than the temperature you set for your meat, if you set the meat to 130°F, it will stay medium-rare even if you leave it for 3 hours. It is the only method that allows cooking meat that is uniformly perfect to the core.
Many people are unaware that there is an aspect of food science regarding sous vide that is interesting; pasteurization depends on both temperature and time, not just temperature alone. The safety of consuming a chicken breast held at 140°F for an hour (during cooking) is the same as the safety of consuming chicken that was cooked to 165°F for 30 seconds.
The difference is that the chicken held at 140°F will be juicy and tender, while the 165°F chicken will be the dry chicken you hated eating as a kid. The same level of safety can be achieved with a completely different outcome.
The challenges associated with sous vide cooking are its texture and the necessary equipment. Because sous vide creates a soft almost poached texture to the meat, you must finish the process with a hot pan sear, or alternatively you may use a propane torch to cook the meat after the sous vide bath. If you skip that step, you will end up with a mediocre meat log.
Very long sous vide times for certain cuts will create a mushy texture (e.g., fish after 4 hours; lean steaks after 3 hours). Therefore, the claim “set it and forget it” does have limitations. Additionally, the associated gear includes an immersion circulator, a bin, and bags.
For thick steaks (over 1.5 inches), chicken breasts that you’d like to keep moist, pork chops, and meals where diners want to have varying levels of doneness, sous vide is the best option. You can cook everything to medium-rare, and then do a quick sear for each individual diner to finish them up. With this method, you keep your stress level at zero.
8) The Air Fryer
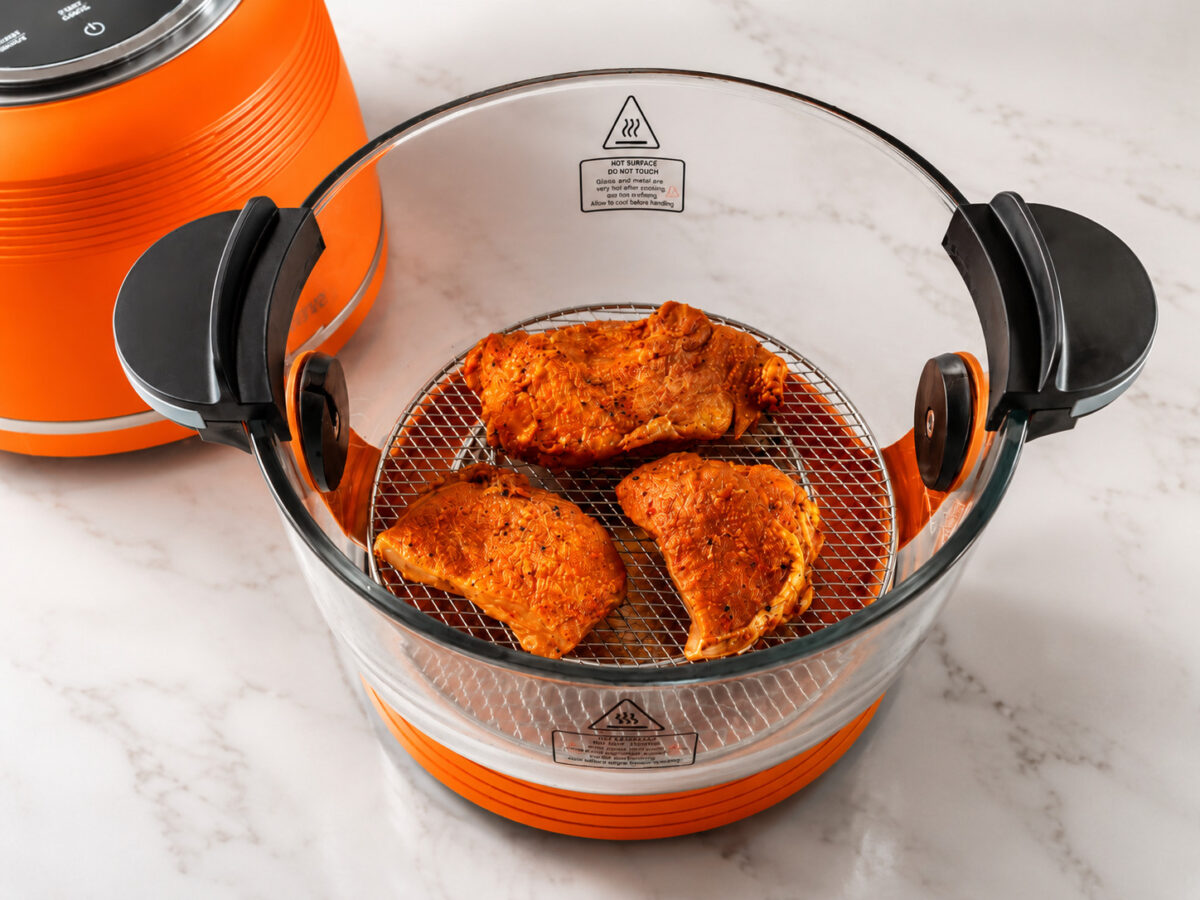
The air fryer is essentially a compact, quicker version of a convection oven. Instead of heating up a full-size oven to cook, the air fryer circulates hot air rapidly around the food. Since oil is not needed in large quantities, the food can be cooked to a golden brown and crispy finish. Small cuts of meat such as wings, drumsticks, sausages, meatballs, pork chops, and even small steaks can be cooked to perfection in the air fryer in as little as 15-25 minutes.
The issue is capacity, and people seem to ignore this. It’s not going to fit a whole roast in there. It’s not going to feed six people in one go. The moment you overstuff the basket, the air circulation is going to stop and you’re not air frying, you’re steaming.
So keep it to a single layer and leave some space between the pieces. The other trap is thinking it’s a magic box that cooks without a thermometer. It cooks with heat, so pork chops still need to reach 145°F. Plus, a dial that says ‘chicken’ doesn’t know how large your chicken is.
Use the air fryer for small portions, cooking on weeknights, and reheating leftovers (it’s truly the greatest invention to reheat fried chicken or pizza). Also, use it for oven-style results without actually preheating your oven. It is not the right tool for cooking for large crowds, big roasts, or anything you would typically braise.
Bonus: Two Hybrid Techniques Worth Knowing
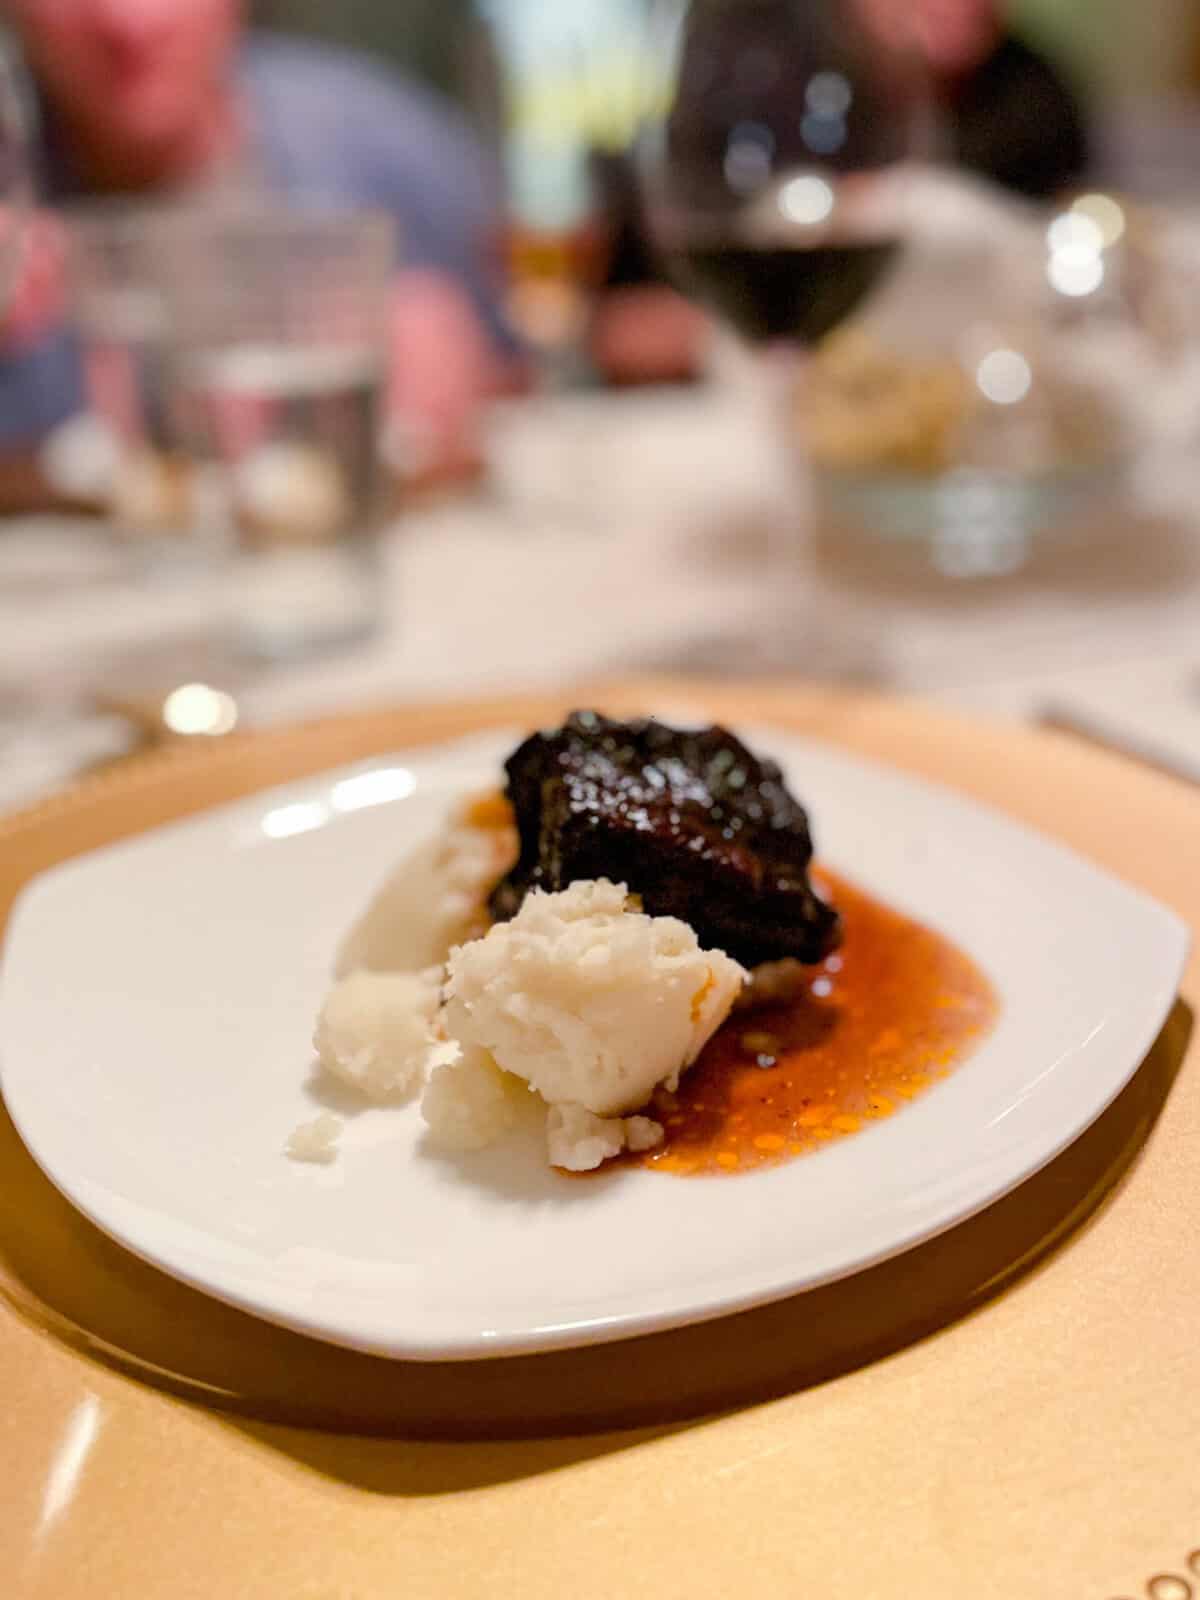
Reverse Sear. For thick steaks (1.5 inches or more), place the meat in a 250°F oven until it reaches an internal temperature of 110°F to 115°F, then sear in a ripping-hot cast iron pan for 60-90 seconds per side. This method guarantees edge-to-edge medium-rare with a real crust, and no gray band. It is the best way to cook a steak at home and most steakhouses use a version of it.
Braising. Sear the meat thoroughly, then cook it while partially submerged in liquid (such as wine, stock, or tomatoes) in a covered Dutch oven at 300-325°F for 2-4 hours. Short ribs, lamb shanks, osso buco, and coq au vin are all braises. It is the cooking logic of a slow cooker combined with the browning of a stovetop, and the sauce that results is half the reason for making it.
Internal Temperature Cheat Sheet
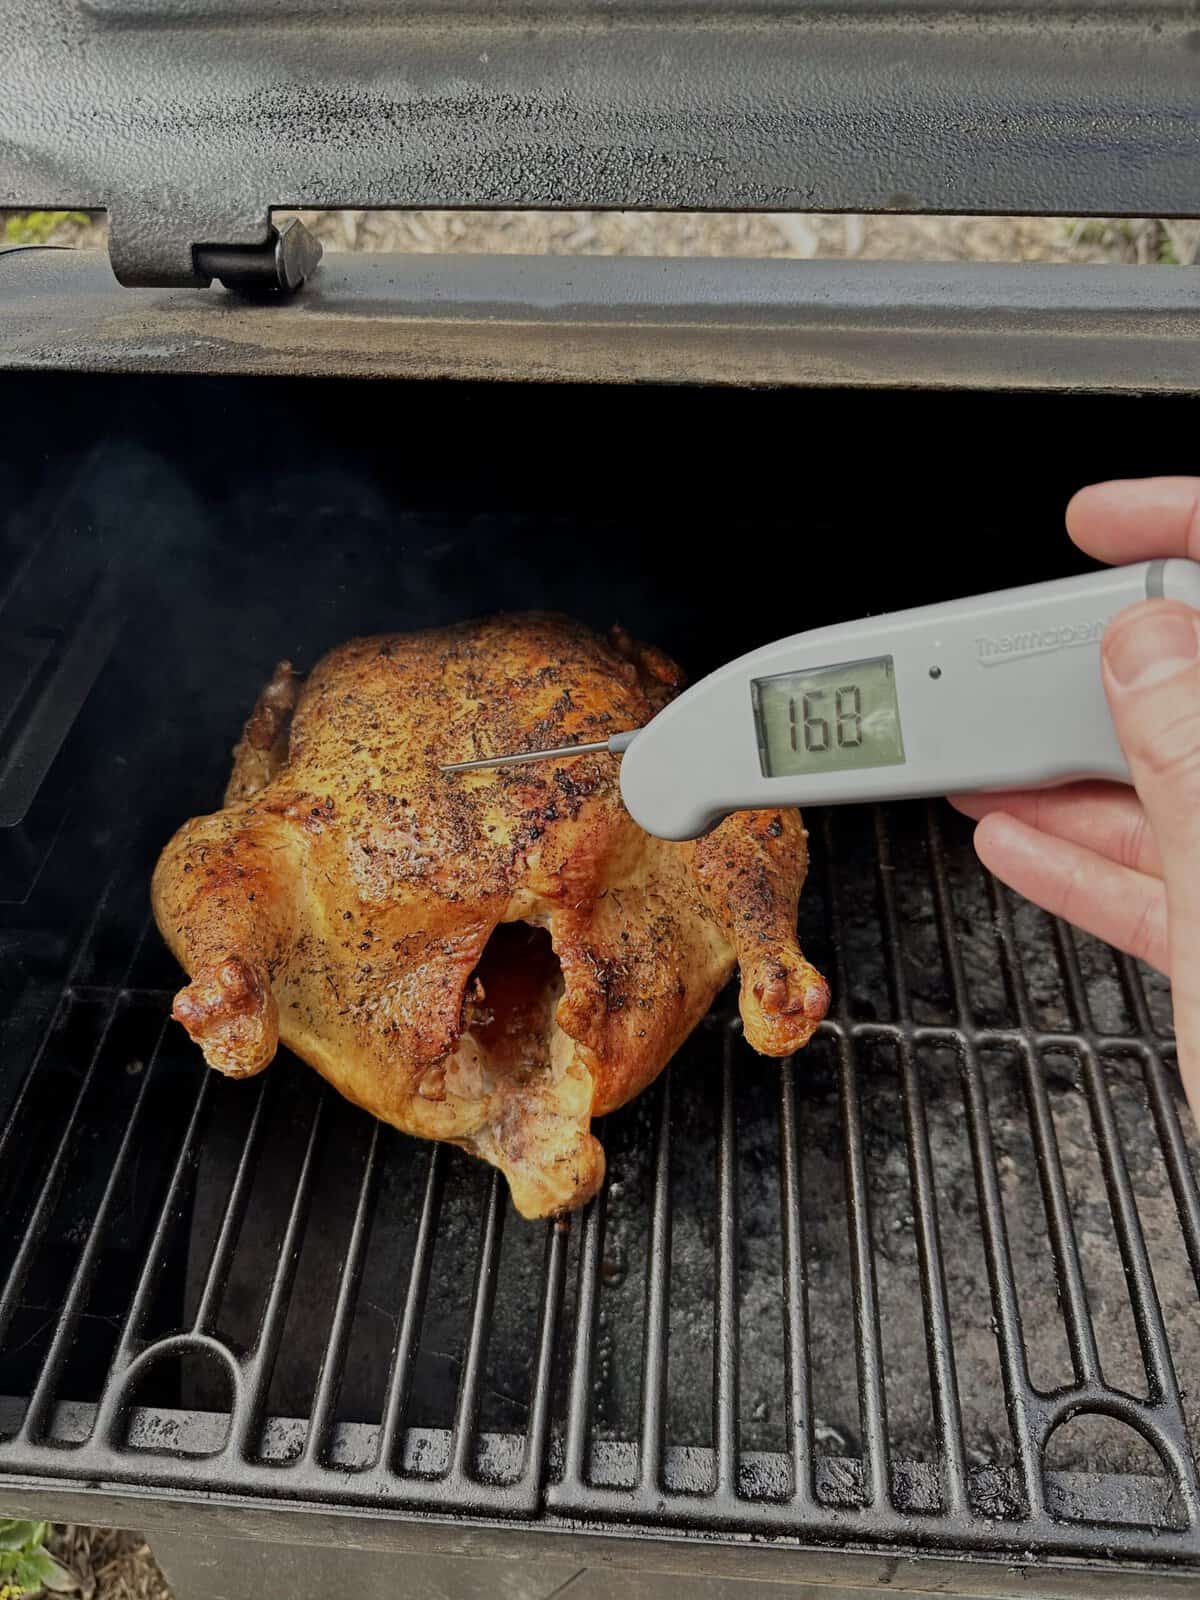
Pull-from-heat temperatures vary by meat type and level of doneness. Keep in mind that meat will carry over another 5-10°F during resting, so pull a few degrees early.
| Meat | Rare | Medium-Rare | Medium | Medium-Well | Done / Safe |
|---|---|---|---|---|---|
| Beef steaks & roasts | 120-125°F | 130-135°F | 140-145°F | 150-155°F | 160°F+ |
| Lamb | 125°F | 130-135°F | 140°F | 150°F | 160°F |
| Pork (chops, tenderloin, loin) | N/A | N/A | 145°F | 150°F | 160°F |
| Chicken & turkey | N/A | N/A | N/A | N/A | 165°F (or 150°F held 3+ min, sous vide) |
| Ground beef, lamb, pork | N/A | N/A | N/A | N/A | 160°F |
| Ground chicken or turkey | N/A | N/A | N/A | N/A | 165°F |
| Brisket, pork shoulder, ribs | N/A | N/A | N/A | N/A | 195-205°F (collagen breakdown) |
| Fish | N/A | N/A | 125-130°F | N/A | 145°F |
The 195-205°F threshold for brisket and pork shoulder pertains to tenderness and not safety. Those cuts are food-safe at 160°F; however, they do not reach pull-apart tenderness until the connective tissues fully gelatinize, which happens at 30-40 degrees higher.
How to Pick the Right Method
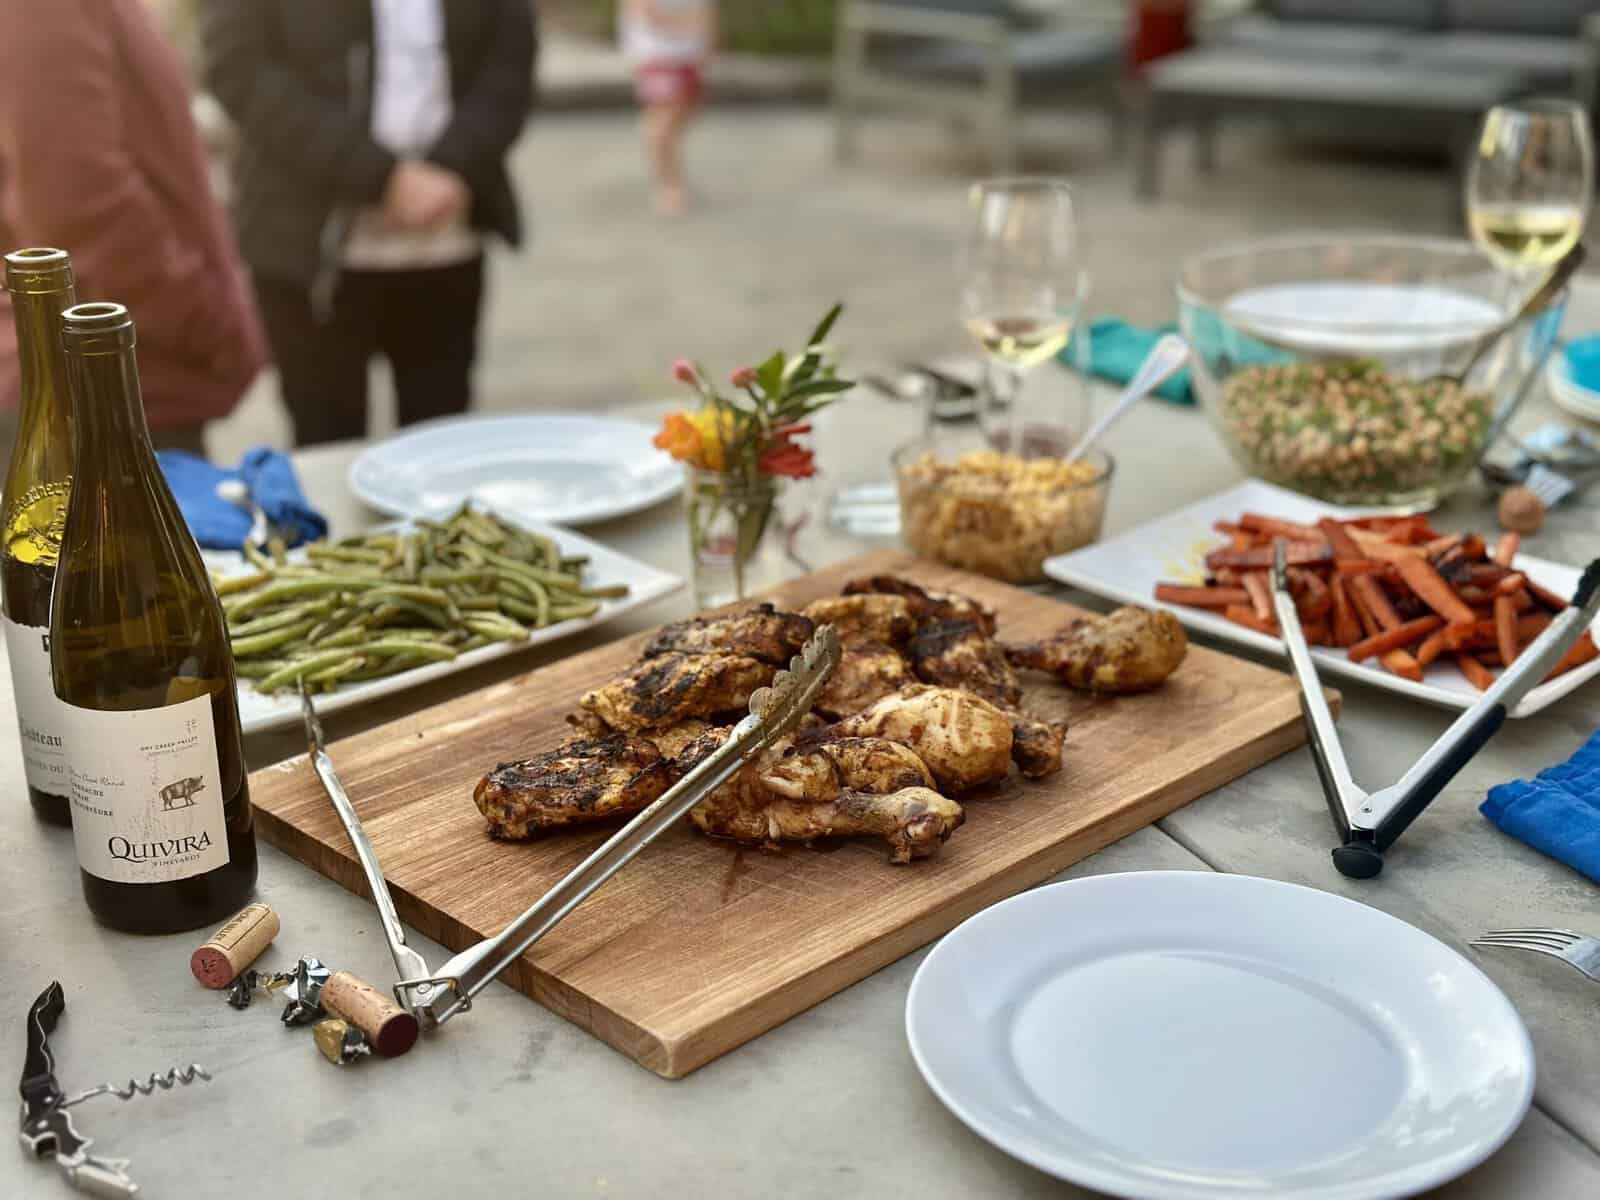
Considering the cut and method of cooking is the most effective way to decide what to cook. Tender cuts like steak, chicken breast, etc. are best cooked with quick, high heat techniques like grilling, broiling, or using a skillet or sous vide.
For tougher cuts such as brisket or pork shoulders, you will want to use low and slow methods like smoking, slow cooking, pressure cooking, or braising. Choosing the method suited for the cut will put you at 80% success for the cook.
The second variable concerns the actual time you do or don’t have rather than the time you wish you had. Tuesday with 25 minutes means stovetop or air fryer. Saturday with 6 guests means smoker or grill. Meal prep Sunday means sous vide, slow cooker, or sheet-pan oven.
Choose the method that matches the day you are in and dinner will be much easier. Wrong method on the wrong cut and you’ll spend the evening staring at a thermometer asking yourself how you got there.
The thermometer remains at the top of the list of most important items.
